


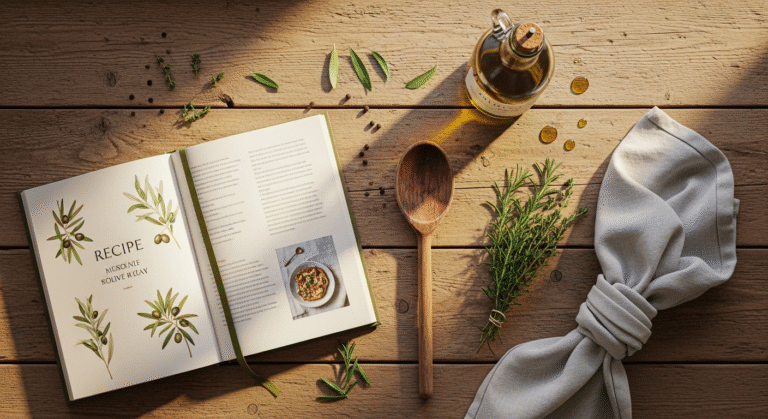

Mastering the Art of Whole Roast Chicken: Three Delicious Meals from One Bird
At rocksaltplum.com, we believe that home cooking should be both inspiring and practical. This isn’t just about cooking; it’s about creating a rhythm in your kitchen, embracing efficiency with elegance, and infusing every meal with love and intention. We’re here to guide you through the art of the whole roast chicken, showing you how to unlock its full potential. From that first magnificent meal to ingenious ways to repurpose every last morsel, prepare to elevate your culinary game and discover the true meaning of resourceful, delicious living.
The Foundation: Choosing and Preparing Your Perfect Whole Chicken
Every masterpiece begins with quality ingredients, and your whole roast chicken is no exception. Selecting the right bird and preparing it with care sets the stage for unparalleled flavor and succulence. Think of this as your canvas, ready to be adorned with delicious possibilities.
Choosing Your Bird: Quality Matters
When you’re aiming for three meals from one chicken, starting with a good quality bird makes all the difference. Here are your options:
- Conventional Chicken: Widely available and budget-friendly. Look for plumpness and a good expiration date.
- Free-Range or Pasture-Raised Chicken: These birds typically have more space to roam, leading to more developed muscles and often a richer flavor. They might be a bit leaner but are incredibly satisfying.
- Organic Chicken: Raised without antibiotics and fed organic feed. A great choice for those prioritizing natural ingredients and animal welfare.
- Heritage Breeds: If you can find them, these offer unique flavor profiles and a firmer texture, a true culinary experience.
Aim for a chicken weighing between 4-6 pounds. This size is manageable for roasting and provides ample meat and bones for multiple meals without being overwhelmingly large.
Prepping for Perfection: The Essential Steps
Once you’ve brought your beautiful bird home, a few simple steps will ensure a crispy skin and juicy interior:
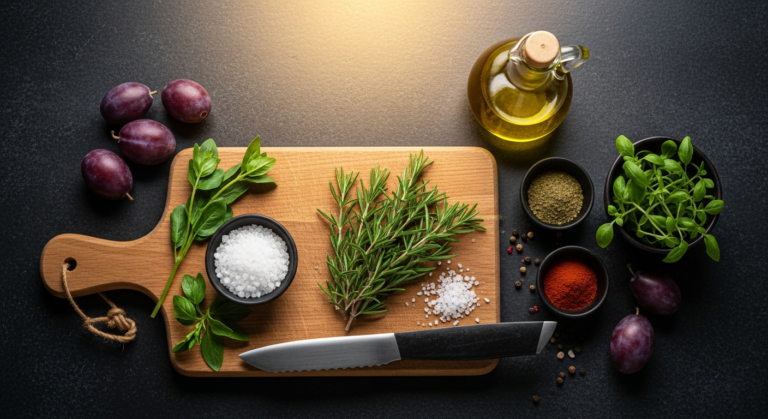
- Pat Dry, Thoroughly: This is perhaps the most crucial step for crispy skin. Use paper towels to pat the entire chicken, inside and out, until it’s completely dry. Moisture is the enemy of crispiness!
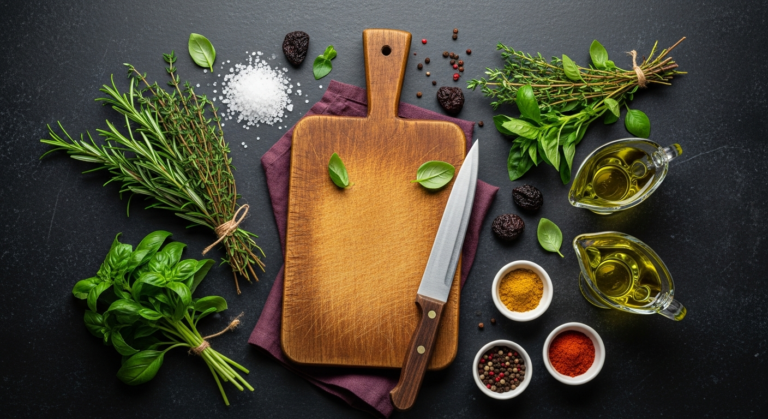
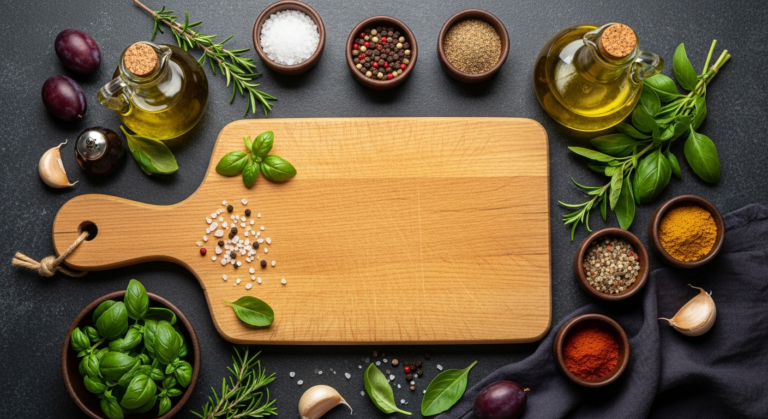
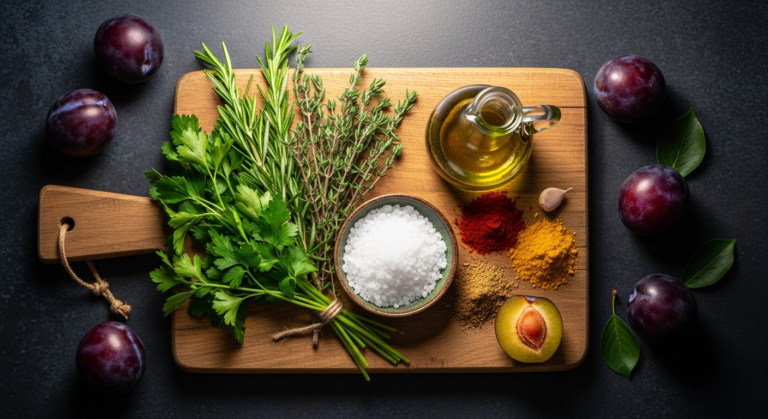
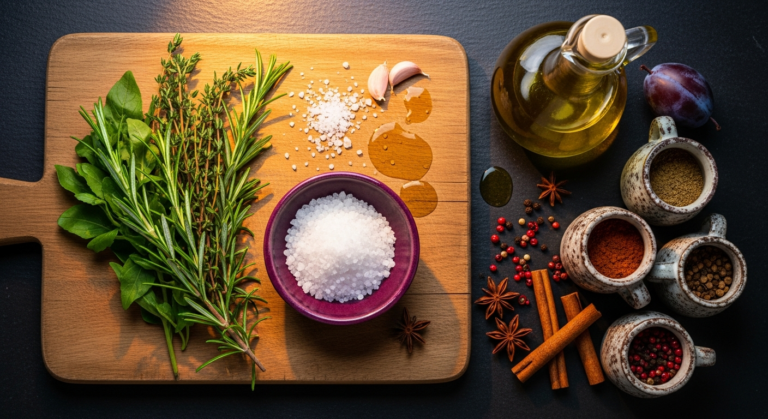
- Season Generously: Don’t be shy with your seasoning. A good quality coarse sea salt (like Maldon or Sel de Guérande) and freshly cracked black pepper are your best friends. Rub them all over the skin and inside the cavity.
- Aromatics for Depth: Stuff the cavity with aromatics like lemon halves, garlic cloves (smashed), onion wedges, and fresh herbs (rosemary, thyme, sage). These infuse the chicken with incredible flavor from the inside out.
- Optional Brining: For an extra juicy and flavorful bird, consider a simple dry brine or a wet brine overnight. A dry brine involves rubbing salt and herbs all over the chicken and letting it sit uncovered in the fridge for 12-24 hours. This draws out moisture, then reabsorbs it, leading to incredibly tender meat and crispier skin.
- Trussing (Optional but Recommended): Trussing involves tying the chicken’s legs together and tucking the wings. This helps the chicken cook more evenly, preventing the breast from drying out before the thighs are done, and creates a more attractive presentation.
Allow the chicken to sit at room temperature for about 30 minutes before roasting. This helps it cook more evenly.
The Art of the Roast: Achieving Golden Perfection

Roasting a whole chicken is a culinary rite of passage, a skill that every home cook can master. The goal is a beautifully browned, crispy skin and incredibly tender, juicy meat. Let’s explore the techniques and tools that will help you achieve this golden perfection.
Essential Equipment for Roasting Success
Having the right tools makes the process smoother and more enjoyable:
- Roasting Pan with Rack: A sturdy roasting pan allows for even heat distribution. A rack elevates the chicken, allowing air to circulate and the skin to crisp all around. Brands like Le Creuset or Staub offer beautiful, durable options, but a heavy-duty stainless steel pan works wonderfully too. For a more rustic touch, a large cast iron pan from Lodge can also work wonders.
- Meat Thermometer: Absolutely non-negotiable for perfectly cooked chicken. An instant-read thermometer like the Thermapen ONE is invaluable. You’re looking for 165°F (74°C) in the thickest part of the thigh, without touching the bone.
- Basting Brush: For applying butter or pan drippings during roasting, though many prefer to simply let the chicken roast undisturbed for crisper skin.
- Good Knife and Carving Board: Essential for carving your masterpiece.
Roasting Methods and Techniques
There are several paths to a perfectly roasted chicken, each with its own merits:
- High-Heat Roasting (Our Recommendation): This method is fantastic for crispy skin and juicy meat.
- Preheat your oven to a high temperature, typically 425-450°F (220-230°C).
- Roast for about 15-20 minutes at this high temperature to get the skin beautifully browned.
- Reduce the temperature to 375-400°F (190-200°C) and continue roasting until the internal temperature reaches 165°F (74°C). This usually takes about 1 hour to 1 hour 30 minutes total, depending on the size of your bird.
- Spatchcocking (Butterflying): This involves removing the backbone and flattening the chicken. It cooks faster and more evenly, resulting in incredibly crispy skin all over.
- Place the chicken breast-side down. Using sturdy kitchen shears, cut along both sides of the backbone and remove it.
- Flip the chicken over, open it up, and press down firmly on the breastbone to flatten it.
- Roast at 425°F (220°C) for about 45-60 minutes, or until 165°F (74°C).
- Low and Slow, Then High: Some chefs prefer to roast at a lower temperature (e.g., 300°F/150°C) for an extended period, then crank up the heat at the end for crisping. This method yields very tender meat but requires more time.
The Crucial Resting Period
Once your chicken reaches 165°F (74°C), remove it from the oven and transfer it to a cutting board. Tent it loosely with foil and let it rest for at least 15-20 minutes. This allows the juices to redistribute throughout the meat, ensuring every bite is incredibly tender and moist. Skipping this step is a common mistake that leads to dry chicken.
Don’t Forget the Pan Drippings!
Those flavorful juices at the bottom of your roasting pan are liquid gold. Pour them into a heatproof container. After separating the fat, the flavorful liquid forms the perfect base for a rich gravy or can be used to add depth to your future chicken dishes.
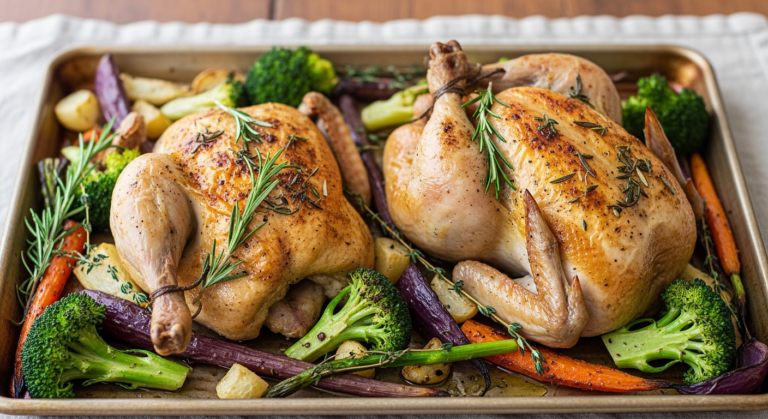
Meal One: The Glorious Sunday Roast Experience
The first meal from your magnificent whole roast chicken is undoubtedly the grandest: the classic Sunday roast. This is where your culinary efforts culminate in a comforting, celebratory feast, perfect for family and friends. It’s about creating an atmosphere as much as it is about the food itself.
Presentation is Key
A beautifully roasted chicken deserves a grand entrance. Place the whole, rested chicken on a large, warm platter, perhaps garnished with fresh herbs like rosemary sprigs or lemon wedges. The golden-brown skin, the inviting aroma – it’s a sight that signals warmth and generosity.
Classic Companions: Side Dishes That Shine
The beauty of a roast chicken is its versatility with side dishes. Here are some beloved pairings that elevate the meal:
- Roasted Root Vegetables: Potatoes, carrots, parsnips, and sweet potatoes roasted alongside the chicken (or in a separate pan with some of the chicken fat) become caramelized and incredibly flavorful. Toss them with olive oil (a good quality extra virgin like California Olive Ranch or Brightland), salt, pepper, and herbs.
- Green Vegetables: Steamed or roasted asparagus, green beans, or Brussels sprouts add freshness and color. A simple preparation with a squeeze of lemon and a sprinkle of flaky sea salt is often best.
- Homemade Gravy: Using those precious pan drippings, a rich, savory gravy is non-negotiable. A roux made from butter and flour, whisked into the drippings and perhaps a splash of chicken broth (or even white wine), creates a silky, flavorful sauce.
- Bread or Rolls: A crusty baguette or soft dinner rolls are perfect for sopping up gravy.
- Yorkshire Pudding (Optional): For a touch of British tradition, light and airy Yorkshire puddings are a delightful addition, especially if you have beef drippings, but chicken fat can work too.
Crafting the Experience: Setting the Scene
Beyond the plate, consider the ambiance. A thoughtfully set table with linen napkins, perhaps some candles, and soft lighting can transform a meal into an occasion. Play some gentle music, pour a glass of your favorite beverage – a crisp Sauvignon Blanc or a light-bodied Pinot Noir pairs beautifully with roast chicken, or a sparkling non-alcoholic cider for a festive touch. This is the essence of “hygge” in your home, creating a cozy and convivial atmosphere.
Carving and Serving
Carving a chicken might seem daunting, but with a sharp knife and a little practice, it’s quite simple. Start by removing the legs and thighs, then separate the drumsticks from the thighs. Next, slice the breast meat from the bone. Arrange the carved pieces on your platter, allowing everyone to choose their favorite cut. Serve immediately, ensuring everyone gets a generous helping of chicken, sides, and that glorious gravy.
Transforming Leftovers: Meal Two – Creative Chicken Dishes

Now that the initial feast has been savored, it’s time for the magic of transformation. The leftover roasted chicken meat is a treasure trove of flavor, ready to be reinvented into an entirely new, equally delicious meal. This is where your creativity truly shines, turning simple remnants into culinary stars.
Efficient Shredding and Storage
Once the chicken has cooled, strip every bit of meat from the bones. Separate the white and dark meat if you prefer, or mix them for a richer flavor. Shred the meat by hand or with two forks. Store the shredded chicken in an airtight container in the refrigerator for up to 3-4 days, or freeze it for longer storage. Don’t forget to save those bones for Meal Three!
Inspiring Ideas for Your Second Act
Here are some of our favorite ways to give your roast chicken a delicious encore:
1. Elevated Chicken Salad
Move beyond the basic! Shredded chicken salad is a classic for a reason, but you can easily elevate it:
- Classic American: Mix with mayonnaise (Duke’s or Hellmann’s are great), finely diced celery, red onion, a touch of Dijon mustard, salt, and pepper. Serve on croissant, whole wheat bread, or lettuce cups.
- Mediterranean Twist: Combine with Greek yogurt instead of mayo, chopped cucumber, cherry tomatoes, Kalamata olives, feta cheese, and a lemon-oregano vinaigrette.
- Curry Delight: Mix with a touch of mayonnaise, plain yogurt, Madras curry powder, golden raisins, toasted almonds, and fresh cilantro.
2. Speedy Tacos, Burritos, or Quesadillas
A quick and flavorful weeknight option! Warm the shredded chicken with your favorite taco seasoning (we love McCormick’s Original Taco Seasoning) and a splash of broth. Serve in warm tortillas with:
- Shredded lettuce, diced tomatoes, and onions
- Salsa, guacamole, and sour cream
- Shredded cheese and a squeeze of lime
3. Comforting Chicken Pot Pie (Quick Version)
Who doesn’t love a pot pie? For a quicker take:
- Sauté diced carrots, celery, and peas. Stir in the shredded chicken, a can of cream of chicken soup (or a homemade béchamel sauce), and a splash of milk or broth.
- Pour into ramekins or a small baking dish. Top with a store-bought puff pastry sheet or refrigerated biscuit dough.
- Bake until golden brown and bubbly.
4. Flavorful Pasta Dishes
Chicken is a wonderful addition to many pasta creations:
- Creamy Alfredo: Toss shredded chicken with fettuccine and a rich Alfredo sauce. Add some sautéed mushrooms or spinach for extra goodness.
- Pesto Perfection: Mix with your favorite pesto, cherry tomatoes, and fresh mozzarella over penne or rotini.
- Lemon Herb Pasta: Sauté garlic and red pepper flakes, add chicken, a squeeze of lemon juice, fresh parsley, and a drizzle of good olive oil to cooked spaghetti.
5. Hearty Sandwiches and Wraps
Beyond chicken salad, use the shredded chicken for:
- BBQ Chicken Sandwiches: Toss with your favorite barbecue sauce and serve on toasted buns with coleslaw.
- Chicken Caesar Wraps: Combine with romaine lettuce, Caesar dressing, and Parmesan cheese in a large tortilla.
The key here is minimal effort for maximum flavor. Your pre-cooked chicken is a true culinary head start!
The Magic of Bones: Meal Three – Nourishing Broth and Beyond
The journey of your whole roast chicken culminates in its most foundational offering: a rich, deeply flavorful bone broth. This isn’t just a byproduct; it’s a superfood, packed with nutrients and an unparalleled depth of flavor that store-bought versions simply can’t match. This third meal option is all about maximizing every last bit of goodness.
Crafting Your Liquid Gold: Homemade Chicken Broth
Making your own chicken broth is incredibly simple and immensely rewarding. You’ll need:
- Chicken Carcass and Bones: Every last bone, even tiny scraps of meat, goes into the pot.
- Mirepoix: A classic aromatic base of roughly chopped onion, carrots, and celery.
- Herbs and Spices: Bay leaves, peppercorns, fresh parsley stems, and a sprig of thyme are perfect.
- Optional: A splash of apple cider vinegar helps extract minerals from the bones.
- Water: Enough to cover all ingredients.
Method 1: Stovetop (Classic and Reliable)
- Place the chicken carcass and bones in a large stockpot. Add the mirepoix, herbs, peppercorns, and apple cider vinegar (if using).
- Cover everything with cold water. Bring to a gentle simmer over medium-high heat, then reduce the heat to low.
- Simmer, partially covered, for at least 4-6 hours, or even up to 12 hours for a richer broth. Skim off any foam or impurities that rise to the surface during the first hour.
- Once done, strain the broth through a fine-mesh sieve, discarding the solids.
Method 2: Slow Cooker (Hands-Off Convenience)
- Combine all ingredients in your slow cooker.
- Cook on low for 8-12 hours, or on high for 4-6 hours.
- Strain as above. This method is fantastic for setting it and forgetting it overnight or while you’re out.
Method 3: Instant Pot (Speed and Efficiency)
- Place all ingredients in your Instant Pot.
- Add water up to the max fill line.
- Seal the lid and cook on high pressure for 90 minutes. Allow for a natural pressure release (NPR) for at least 15-20 minutes before quick releasing any remaining pressure.
- Strain. This method yields a deeply flavorful broth in a fraction of the time.
Using Your Golden Broth: Beyond the Soup Bowl
Your homemade broth is incredibly versatile and forms the base for countless delicious dishes:
- Nourishing Soups: The most obvious choice! Use it for a classic chicken noodle soup (add some of your leftover shredded chicken!), a comforting chicken and rice soup, or a vibrant vegetable soup.
- Risotto Base: Replace water or store-bought broth with your homemade version for an incredibly flavorful risotto. Think mushroom risotto or a simple Parmesan risotto.
- Sauces and Gravies: Enhance pan sauces, gravies, or braising liquids with the rich depth of your broth.
- Cooking Grains: Cook rice, quinoa, or couscous in chicken broth instead of water for an extra layer of flavor.
- Freezing for Future Use: Pour cooled broth into airtight containers, freezer bags, or even ice cube trays (for smaller portions). Freeze for up to 3-6 months, extending the life and utility of your roast chicken.
Embracing bone broth is not just about reducing waste; it’s about nourishing your body with wholesome goodness and adding an unparalleled depth of flavor to your everyday cooking. It’s a testament to the full potential of one humble bird.
Flavor Profiles and Culinary Adventures: Elevating Your Chicken Game
While a classic salt-and-pepper roast chicken is always a winner, part of the joy of cooking is experimenting with different flavor profiles. Your whole roast chicken can be a canvas for a world of culinary adventures, transforming a simple meal into an exotic journey. This section will inspire you to try new seasonings, marinades, and techniques to keep your three meals exciting and fresh.
Beyond Basic: Diverse Seasoning Blends
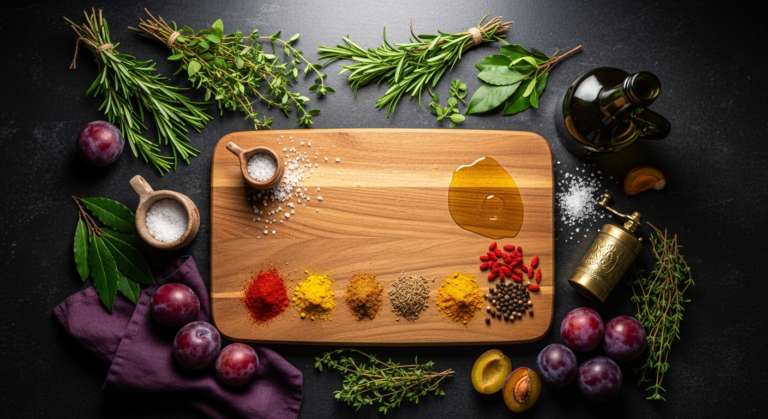
Instead of just salt and pepper, consider these exciting options:
- Mediterranean Zest: Rub with olive oil, dried oregano, thyme, rosemary, garlic powder, and a generous amount of lemon zest. Stuff the cavity with lemon halves and fresh oregano sprigs.
- Smoky Tex-Mex: A dry rub of chili powder, cumin, smoked paprika, garlic powder, onion powder, and a touch of cayenne pepper. Serve with cilantro and lime.
- Herbaceous French Countryside: A blend of Herbes de Provence, fresh tarragon, finely minced shallots, and butter rubbed under the skin.
- Spicy Moroccan: Ras el Hanout spice blend, ginger, garlic, and a hint of saffron. Serve with preserved lemon and olives.
- Asian-Inspired Glaze: A mix of soy sauce, ginger, garlic, honey, and a touch of sesame oil applied during the last 30 minutes of roasting.
Marinades and Brines for Extra Flavor
Marinades not only tenderize but also infuse deep flavor. Brining, as mentioned earlier, is excellent for moisture and seasoning.
- Yogurt Marinade: A blend of plain yogurt, lemon juice, garlic, ginger, and spices (like garam masala or turmeric) makes for incredibly tender and flavorful chicken. Marinate for at least 4 hours or overnight.
- Citrus Herb Marinade: Olive oil, orange and lemon juice, fresh rosemary, thyme, and crushed garlic.
Comparison Table: Roasting Methods & Flavor Profiles
To help you choose your next chicken adventure, here’s a quick comparison:
| Method/Profile | Key Characteristics | Best For | Effort Level | Notes |
|---|---|---|---|---|
| Classic High Heat Roast | Crispy skin, juicy interior, traditional flavor. | Sunday dinners, first-timers. | Easy | Reliable and consistently delicious. |
| Spatchcock Roast | Even cooking, extra crispy skin, faster cook time. | Weeknight roasts, larger birds. | Medium | Requires kitchen shears for backbone removal. |
| Mediterranean Herb | Bright, aromatic, zesty with herbs and lemon. | Lighter meals, spring/summer. | Easy | Pairs well with couscous or a Greek salad. |
| Smoky Tex-Mex Rub | Bold, spicy, earthy with chili and cumin. | Tacos, burritos, heartier meals. | Easy | Great for shredding into future meals. |
| Yogurt Marinade | Super tender, deeply flavored, often Middle Eastern/Indian inspired. | Flavor exploration, very tender meat. | Medium | Requires overnight marinating. |
Don’t be afraid to experiment! Each new flavor profile opens up a world of possibilities for your three meals, ensuring that your roast chicken journey is always exciting and never boring.
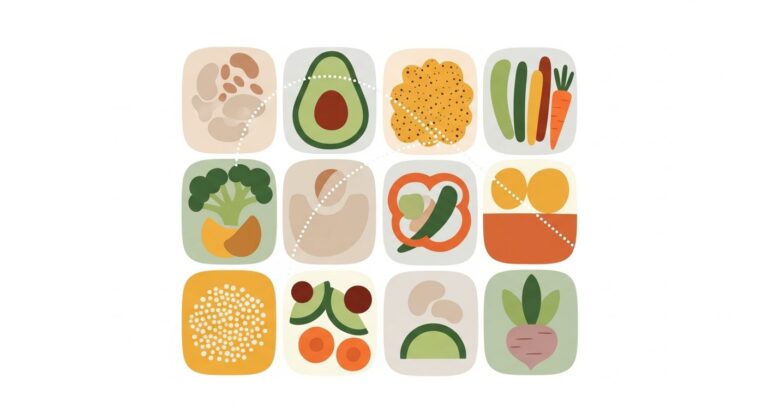
Waste Not, Want Not: Maximizing Every Morsel and Minimizing Food Waste
At rocksaltplum.com, we champion a philosophy of mindful cooking and living, which naturally extends to minimizing food waste. When you invest in a beautiful whole chicken, you want to ensure every part is utilized to its fullest potential. This approach not only saves money but also honors the ingredients and contributes to a more sustainable kitchen.
Smart Storage for Lasting Freshness
Proper storage is paramount for maximizing leftovers and preventing spoilage:
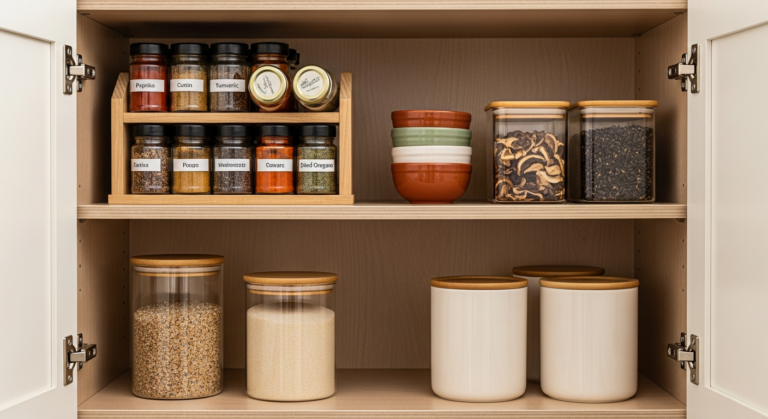
- Airtight Containers: Invest in good quality glass or BPA-free plastic containers. Brands like Pyrex or Weck Jars are excellent for both refrigeration and freezing.
- Separate Components: Store shredded chicken, broth, and any leftover roasted vegetables in separate containers. This makes them easier to grab for specific recipes.
- Labeling is Key: Always label containers with the date and contents. This prevents the dreaded “mystery meat” in the back of the fridge.
- Refrigeration: Cooked chicken is safe in the refrigerator for 3-4 days. Broth can last for 4-5 days.
- Freezing: Shredded chicken can be frozen for up to 3 months. Broth freezes beautifully for up to 6 months. Consider freezing broth in smaller portions (like 1-cup or 2-cup measurements) for easy thawing.
Creative Uses for Even the Smallest Scraps
Think beyond the main cuts of meat and bones:
- Chicken Skin Cracklings: If you have extra crispy skin, chop it up and use it as a garnish for salads, soups, or even over scrambled eggs. It adds an incredible crunch and savory flavor.
- Small Meat Scraps: Even tiny bits of chicken meat that are hard to shred can be chopped finely and added to pet food (ensure no harmful seasonings like onion or garlic are present in large quantities), or mixed into a savory spread for crackers.
- Fat for Flavor: The rendered chicken fat (schmaltz) from roasting is a flavorful cooking fat. Strain it and store it in the fridge. Use it to roast vegetables, fry eggs, or make incredibly rich gravies and sauces. It’s a culinary secret weapon!
- Vegetable Scraps: If you roasted vegetables with your chicken, any leftover bits or trimmings can be added to your broth pot for extra flavor.
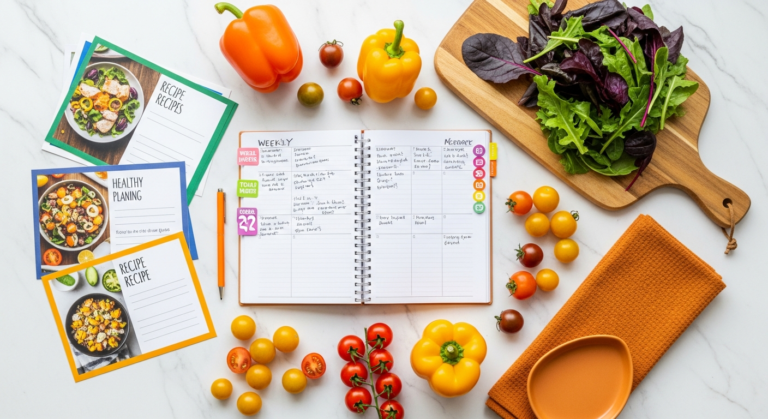
Meal Planning and Batch Cooking for Efficiency
The whole roast chicken strategy is a prime example of effective meal planning and batch cooking. By dedicating a bit of time upfront, you create building blocks for multiple meals throughout the week. This reduces daily cooking stress, saves time, and significantly cuts down on food waste because you have a plan for every component.
Embracing this “waste not, want not” mindset is not just about frugality; it’s about a deeper appreciation for the food we prepare and the resources we use. It transforms your kitchen into a hub of resourcefulness and delicious innovation.
Kitchen Essentials for Your Roasting Journey
While passion and good ingredients are paramount, having the right tools makes the entire process of roasting a chicken and transforming it into multiple meals much more enjoyable and efficient. Think of these as your culinary companions, designed to make your home cooking journey smoother and more successful.
Must-Have Tools and Appliances
- High-Quality Roasting Pan with Rack: As mentioned, this is fundamental. A heavy-gauge stainless steel pan, or an enameled cast iron one from Le Creuset or Staub, will last a lifetime and provide excellent heat distribution. The rack ensures even browning.
- Instant-Read Meat Thermometer: The single most important tool for perfectly cooked chicken. The Thermapen ONE is a favorite among professionals for its speed and accuracy, but any reliable digital thermometer will do.
- Sharp Chef’s Knife and Carving Knife: A good quality chef’s knife is indispensable for all kitchen tasks, from chopping aromatics to carving your chicken. A dedicated carving knife (longer and thinner) makes slicing breast meat easier. Maintain them with a honing steel.
- Sturdy Cutting Board: A large, stable cutting board (wood or high-density plastic) is essential for safety and efficiency, especially when carving a hot chicken.
- Large Stockpot: Crucial for making your homemade chicken broth. Look for a 8-12 quart pot with a heavy bottom.
- Slow Cooker or Instant Pot: While not strictly necessary, either of these appliances makes broth-making incredibly easy and hands-off, freeing up your stovetop.
- Fine-Mesh Sieve: For straining your homemade broth to achieve a clear, smooth liquid.
- Airtight Storage Containers: For storing shredded chicken, broth, and other leftovers safely and efficiently. Glass containers are excellent for reheating and long-term storage.
- Kitchen Shears: Invaluable for spatchcocking a chicken or snipping herbs.
- Fat Separator (Optional): A clever gadget that makes separating the fat from your pan drippings a breeze, yielding a cleaner, richer gravy base.
Quality Ingredients: The Unsung Heroes
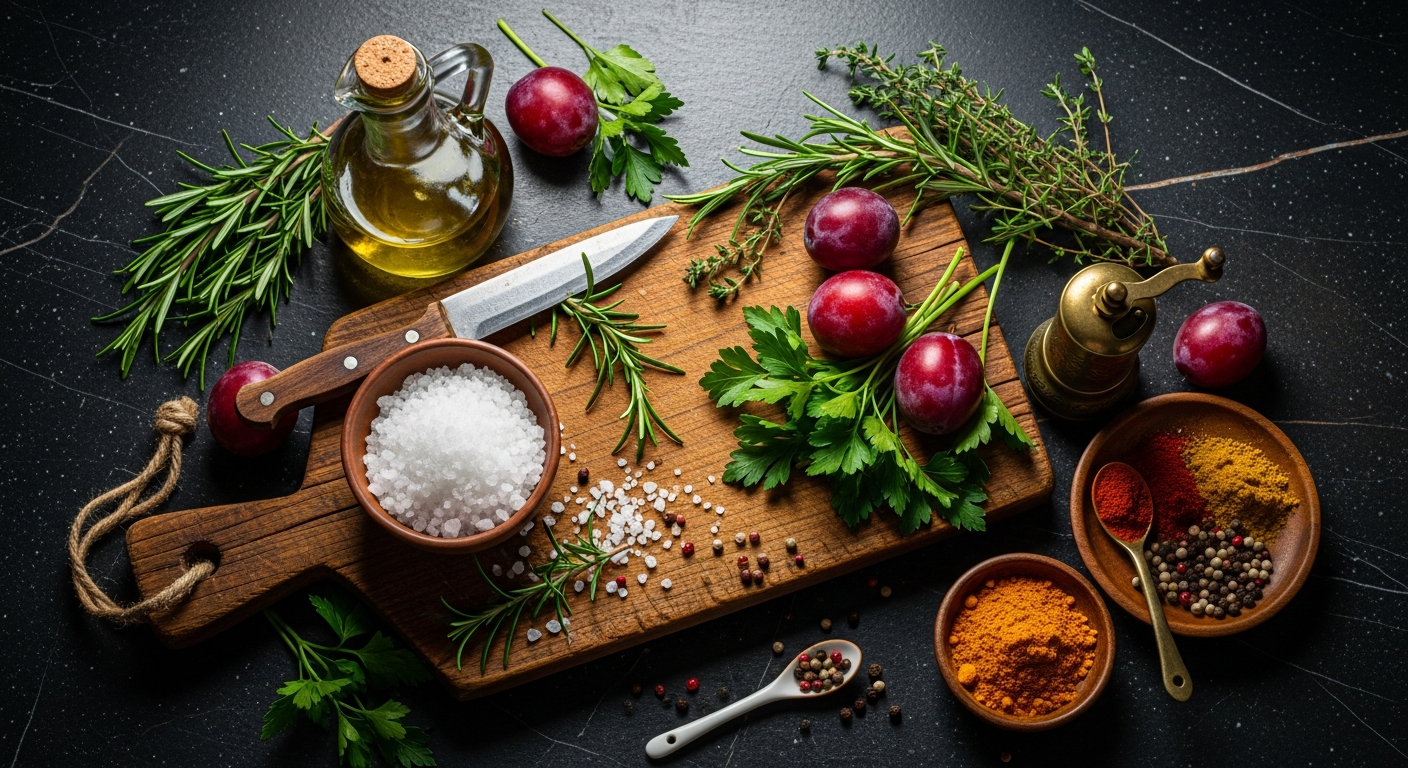
Beyond the tools, remember that the quality of your supporting ingredients also plays a significant role:
- Good Quality Olive Oil: A flavorful extra virgin olive oil (like


