


Effortless Sourdough Starter Care: Your Guide to Weekly Baking Bliss
This comprehensive guide is crafted specifically for you – the weekly sourdough enthusiast. We’ll delve into the most effective and efficient methods for keeping your starter robust and happy, ensuring it’s always at its peak for your weekend baking adventures. Forget the myths of demanding daily feeds; we’re here to simplify the process, offering practical tips, smart storage solutions, and troubleshooting advice that respects your time and your passion. Let’s cultivate a thriving starter together, one that enhances your home and delights your palate, week after week.
Embracing the Weekly Sourdough Rhythm: Why It Works for You
For the home baker who bakes once a week, the rhythm of sourdough maintenance needs to be harmonious with your lifestyle, not a source of stress. The beauty of baking sourdough weekly is that it allows you to develop a consistent, predictable routine for your starter, which, surprisingly, is often easier to maintain than sporadic baking. Your starter, a living ecosystem of wild yeasts and bacteria, thrives on consistency, much like a beloved houseplant responds to a regular watering schedule. When you commit to a weekly bake, you also commit to a weekly feed, creating a predictable cycle that your starter quickly adapts to.
This weekly rhythm not only simplifies your life but also contributes to a more robust and flavorful starter. A starter that is consistently fed and then allowed to rest in the cool embrace of your refrigerator between uses develops a deeper, more complex flavor profile. The longer, slower fermentation that occurs in the fridge encourages the production of organic acids, which are responsible for that quintessential sourdough tang we all adore. Moreover, less frequent feeding (compared to daily counter-top maintenance) means less flour consumed and significantly less discard, making your sourdough journey more sustainable and economical. Imagine the peace of mind knowing your starter is patiently waiting, perfectly primed, for your next baking day, without demanding your constant attention. It’s about creating an efficient system that supports your passion, allowing you to focus on the joy of baking rather than the anxiety of maintenance.
Consider the benefits:
- Reduced Waste: Less frequent feeding means less sourdough discard, which, while useful, can accumulate quickly.
- Time Efficiency: Your starter requires active attention only once a week, freeing up your daily schedule.
- Flavor Development: The extended cold fermentation period enhances the depth and complexity of your starter’s flavor.
- Predictability: A consistent weekly routine helps your starter become more reliable and predictable in its activity.
- Sustainability: Conserving flour and reducing discard aligns beautifully with a mindful, sustainable home.
Embracing this weekly rhythm transforms sourdough maintenance from a potential chore into an integral, enjoyable part of your baking process. It allows you to nurture your starter with intention, providing it with exactly what it needs to thrive, ensuring it’s always ready to contribute its magic to your next homemade loaf.
The Art of the Weekly Feed: A Simple Routine for a Thriving Starter

Mastering the weekly feed is the cornerstone of successful sourdough starter maintenance for the regular baker. It’s a precise yet simple ritual that ensures your starter remains vigorous and ready for action. The key is to feed your starter once a week, ideally on a consistent day, whether you plan to bake that week or not. This regular nourishment prevents it from becoming too sluggish or acidic during its time in cold storage. Think of it as a weekly spa day for your starter, rejuvenating it for the week ahead.
Here’s a step-by-step guide to your weekly feeding routine:
- Retrieve from the Fridge: On your designated feeding day, take your starter out of the refrigerator. Let it come to room temperature for about 30 minutes to an hour. This gentle warming helps wake up the dormant microbes.
- Discard (Almost) All: This is a crucial step. For weekly maintenance, you only need to keep a small amount of your mature starter. Discard all but about 15-30 grams (roughly 1-2 tablespoons) of your starter. This ensures you’re not overfeeding a vast quantity, which can lead to excessive waste and a less active starter. Don’t worry, the small amount you keep is packed with enough active cultures to thrive.
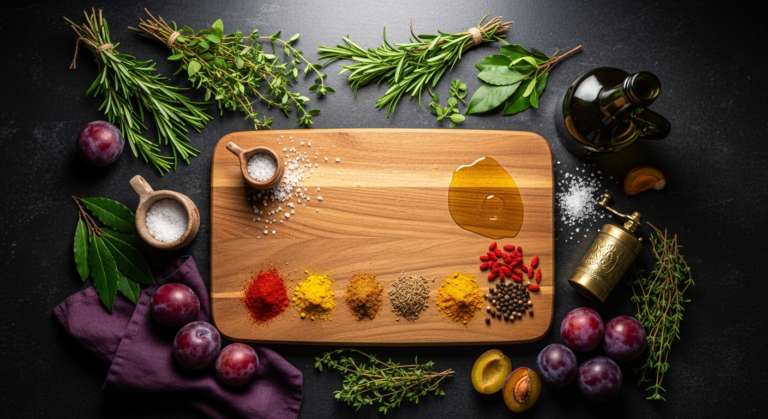
- Feed with Fresh Flour and Water: To the remaining starter, add fresh, unbleached bread flour and lukewarm water. A common ratio is 1:1:1 (starter:flour:water by weight). For example, if you kept 20g of starter, add 40g of flour and 40g of water. Using a kitchen scale, such as the OXO Good Grips Stainless Steel Food Scale or an Escali Primo Digital Scale, is highly recommended for accuracy. The type of flour matters; a good quality unbleached bread flour like King Arthur Bread Flour or Bob’s Red Mill Artisan Bread Flour will give your starter the best nourishment.
- Mix Thoroughly: Stir the mixture until all the flour is fully incorporated and there are no dry pockets. It should have the consistency of a thick batter. Scrape down the sides of your jar to keep it clean.
- Cover Loosely: Place a lid loosely on your jar, or use plastic wrap with a small vent hole, or a breathable cloth secured with a rubber band. This allows gases to escape while protecting your starter from contaminants.
- Activate at Room Temperature: Let your freshly fed starter sit at room temperature (ideally 70-75°F / 21-24°C) for 4-8 hours, or until it shows signs of activity. You’ll see bubbles forming, and it should noticeably increase in volume, often doubling. This activation period is vital; it ensures the microbes are vibrant before their cold nap.
- Return to the Fridge: Once your starter has peaked (or is well on its way up, showing significant bubbles and growth), place it back into the refrigerator. It will continue to slowly ferment in the cold, developing its characteristic flavor.
This straightforward weekly feeding routine ensures your starter is consistently strong and ready for your baking endeavors. By understanding and respecting its needs, you cultivate a reliable partner in your kitchen, making every loaf a testament to your care and consistency.
Intelligent Storage Solutions: Nurturing Your Starter Between Bakes
For the weekly baker, intelligent storage is paramount to maintaining a healthy and active sourdough starter without the burden of daily feeding. The refrigerator becomes your starter’s best friend, acting as a slow-down button for its metabolism. By chilling your starter, you significantly slow down the activity of the wild yeasts and bacteria, allowing it to rest peacefully for up to a week (or even two, in a pinch) between feedings. This method is not only convenient but also beneficial for flavor development, as the cold, slow fermentation contributes to a more complex and tangy profile.
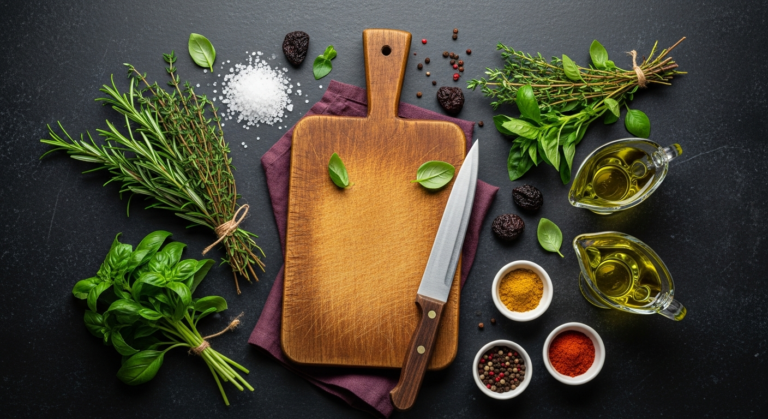
Choosing the right vessel for your starter is an aesthetic and practical decision that impacts both its health and your kitchen’s ambiance. Glass jars are overwhelmingly popular for a reason: they allow you to easily observe your starter’s activity, watch for bubbles, and monitor its rise and fall. Brands like Weck Jars, with their charming design and rubber seals, or classic Kilner Jars and Ball Mason Jars, are excellent choices. Opt for a jar with a wide mouth for easy feeding and cleaning, and ensure it has enough capacity for your starter to double in size without overflowing. While an airtight seal is great for general storage, when your starter is actively fermenting (before it goes into the fridge, or when reviving), you’ll want to ensure it can breathe slightly to release gases. A loose lid or a lid with a small gap is perfect.
Here’s a comparison of common starter vessels:
| Vessel Type | Pros | Cons | Ideal For |
|---|---|---|---|
| Wide-Mouth Glass Jar (e.g., Weck, Kilner, Ball) |
|
|
Everyday weekly bakers who appreciate visibility and aesthetics. |
| Ceramic Crock/Jar |
|
|
Bakers who prioritize aesthetics and temperature stability, but are experienced enough to gauge activity without seeing it. |
| Food-Grade Plastic Container |
|
|
Bakers prioritizing practicality, durability, and budget, especially for larger quantities or travel. |
When placing your starter back into the refrigerator after its weekly feed and activation, ensure the lid is still loose enough to allow any residual gases to escape, but not so loose that it dries out. A simple trick is to use the glass lid of a Weck jar without the clips, or a regular jar lid placed gently on top without screwing it all the way down. This thoughtful approach to storage ensures your starter remains vibrant and ready to leap into action the moment you decide it’s baking day.
Waking Up Your Starter: The Revival Ritual for Baking Day

The night before your planned baking day is when the magic truly begins. Your sourdough starter, having patiently rested in the cool tranquility of your refrigerator, needs a gentle nudge to awaken its full potential. This revival ritual is crucial for ensuring your starter is at its peak activity, ready to provide the lift, flavor, and texture your sourdough loaves deserve. Think of it as preparing a beloved friend for a grand performance – you want them energized and ready to shine.
Here’s how to bring your starter back to life, ensuring it’s vibrant and bubbly for your baking:
- Retrieve and Warm: Approximately 12-16 hours before you plan to mix your dough, take your starter out of the refrigerator. Let it sit at room temperature for an hour or two to gently warm up. This initial warming period helps kickstart its metabolism.
- The Pre-Bake Feed: This is the most important feed of the week, designed to make your starter super active. Discard all but about 15-30 grams of your starter. Then, feed it with a larger quantity of fresh flour and water than your weekly maintenance feed. A common ratio is 1:2:2 or 1:3:3 (starter:flour:water by weight). For example, if you kept 20g of starter, feed it with 40-60g of flour and 40-60g of water. Using a larger feeding ratio provides more food for the microbes, encouraging robust activity.
- Mix and Mark: Stir the mixture thoroughly until completely combined. Scrape down the sides of your jar. To accurately track its rise, place a rubber band around the jar at the level of the freshly fed starter. This visual aid will help you determine when your starter has doubled in size and is at its peak.
- Room Temperature Activation: Place your fed starter in a warm spot in your kitchen (ideally 75-80°F / 24-27°C). A consistent warm environment is crucial for rapid activation. You might use a proofing box, your oven with the light on (turned off, just the light for warmth), or even a warm spot near a sunny window (but avoid direct harsh sunlight).
- Monitor for Peak Activity: Watch your starter closely. It should begin to bubble vigorously and rise, ideally doubling or even tripling in volume. The ideal time to use your starter is when it reaches its peak or just begins to fall back down. This is when it’s most potent and full of leavening power. The surface will be domed and bubbly, and it should smell pleasantly yeasty and slightly acidic. If you drop a small piece into water, it should float.
- Ready for Baking: Once your starter passes the float test and shows peak activity, it’s ready to be incorporated into your dough. Congratulations, you’ve successfully awakened your starter for another magnificent bake!
This careful revival ritual ensures that your sourdough starter is at its absolute best, guaranteeing a successful and delicious baking experience. It’s a testament to the care and intention you bring to your kitchen, transforming simple ingredients into extraordinary loaves.
Troubleshooting Common Weekly Starter Woes
Even with the most meticulous care, every sourdough baker encounters a hiccup or two. For weekly bakers, common issues often revolve around a sluggish starter after refrigeration or unexpected mold. Don’t despair! Most problems are easily remedied with a little understanding and patience. Think of these challenges as opportunities to deepen your connection with your starter and refine your nurturing skills.
Here are some common woes and their solutions:
- Sluggish Starter After Refrigeration:
- Problem: Your starter takes a very long time to become active after being taken out of the fridge and fed, or it doesn’t double in size.
- Solution:
- Increase Feeding Ratio: For the pre-bake feed, try a higher ratio like 1:3:3 or even 1:4:4 (starter:flour:water). More food means more energy for the microbes to multiply.
- Warmth: Ensure your starter is in a consistently warm environment (75-80°F / 24-27°C) during its activation period. A cold kitchen is the enemy of an active starter.
- Multiple Feeds: If it’s very sluggish, consider giving it two consecutive feeds at room temperature, about 4-6 hours apart, before using it. Discard down to a small amount (e.g., 15g), feed, let it rise, then discard again and feed for your baking.
- Fresh Flour: Ensure your flour is fresh and unbleached. Old or bleached flour can inhibit activity.
- Too Much Hoard or Off-Smell:
- Problem: Your starter develops a dark liquid on top (hooch) or smells strongly of nail polish remover/sour vinegar.
- Solution:
- Hooch: A small amount of clear hooch is normal for a hungry starter. Simply pour it off. Dark hooch indicates severe hunger.
- Off-Smell: This also indicates hunger. Discard most of the starter, leaving only a tablespoon. Feed it with a 1:1:1 ratio, and then within 4-6 hours, feed it again. Repeat this vigorous feeding every 4-6 hours until the smell normalizes and activity returns. Ensure you’re not leaving it too long between weekly maintenance feeds.
- Temperature: Keep your fridge at a consistent, cold temperature to slow down fermentation effectively.
- Mold Growth:
- Problem: You see fuzzy, colored spots (green, black, orange) on your starter.
- Solution:
- Discard: Unfortunately, mold means your starter is compromised. It’s safest to discard the entire batch and start a new one. Mold spores can penetrate deeper than what you see on the surface.
- Prevention: Always use clean jars and utensils. Ensure your starter isn’t too thin (which can promote mold) and that it’s covered loosely but sufficiently to prevent airborne contaminants. Keep your kitchen surfaces clean.
- Lack of Rise in Dough:
- Problem: Your dough isn’t rising properly, even after using an active starter.
- Solution:
- Float Test: Always perform the float test before baking. Drop a small spoonful of starter into a glass of water. If it floats, it’s ready. If it sinks, it needs more time to activate.
- Peak Time: Ensure you’re using your starter at its peak activity, not when it’s already started to collapse.
- Dough Temperature: The temperature of your dough during bulk fermentation and proofing is critical. Too cold, and it will be sluggish; too hot, and it will overproof. Invest in a good thermometer.
- Flour Strength: Ensure you’re using a high-protein bread flour for your dough, which provides the gluten structure needed for a good rise.
By understanding these common issues and implementing these solutions, you’ll build confidence in managing your sourdough starter. Each challenge overcome makes you a more intuitive and skilled baker, strengthening the bond between you and your living, breathing kitchen companion.
Essential Tools for a Seamless Sourdough Journey
While the essence of sourdough baking lies in simple ingredients and time, having the right tools can elevate your experience from functional to truly joyful and efficient. For the weekly baker, investing in a few key items not only streamlines the maintenance process but also enhances the overall aesthetic of your kitchen, aligning with the thoughtful design principles you cherish. These aren’t just gadgets; they are extensions of your intention to create beautiful, nourishing food in a beautiful, nurturing home.
Here are the essential tools that every weekly sourdough baker will appreciate:
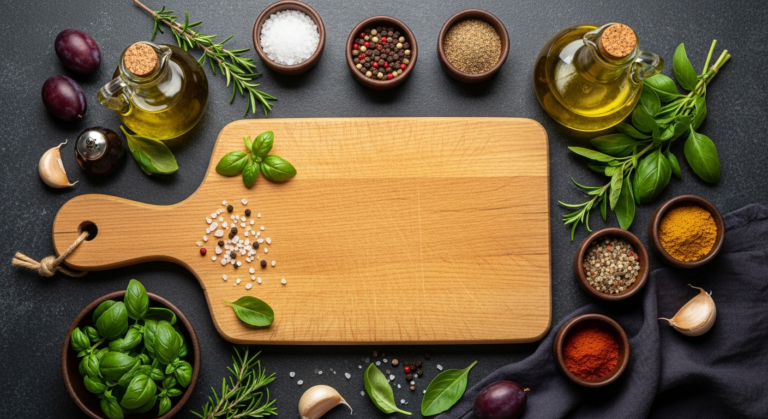
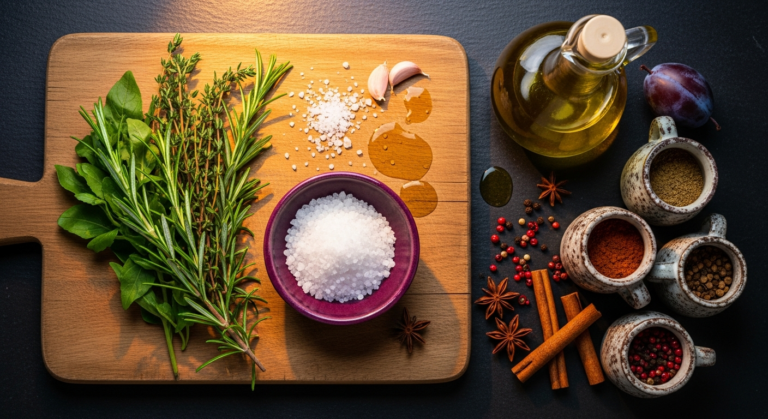
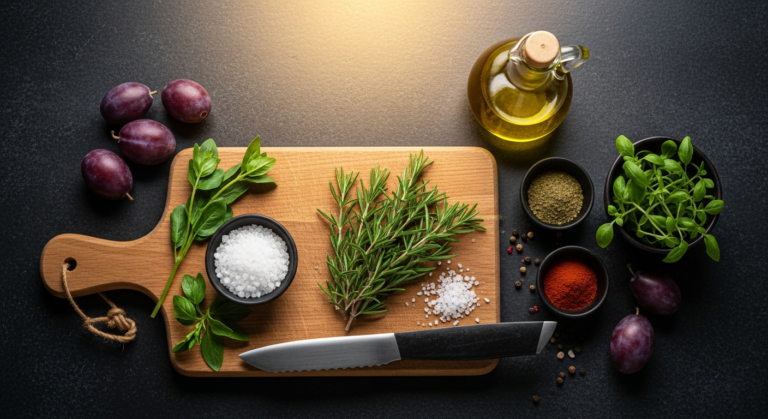
- Digital Kitchen Scale: Precision is paramount in sourdough. A reliable digital scale, such as the OXO Good Grips Stainless Steel Food Scale or an Escali Primo Digital Scale, is non-negotiable for accurately measuring flour, water, and starter. Consistent ratios lead to consistent results. Look for one that’s easy to clean and has a tare function.
- Glass Jars with Wide Mouths: As discussed, Weck Jars, Kilner Jars, or Ball Mason Jars are ideal for housing your starter. Their transparency allows you to observe activity, and wide mouths make feeding and cleaning effortless. Choose a size that accommodates at least double your starter’s volume.
- Rubber Spatula or Danish Dough Whisk: A flexible rubber spatula is perfect for mixing your starter, ensuring all flour is incorporated and scraping down the sides of the jar. For dough mixing, a Danish dough whisk is a game-changer, efficiently combining ingredients without overworking the dough or getting sticky.
- Bowl Scrapers: Inexpensive and incredibly useful, a flexible plastic bowl scraper helps you transfer dough, clean bowls, and portion your starter. A stiff metal bench scraper is also excellent for dividing dough.
- Bannetons (Proofing Baskets): These baskets, typically made of rattan or cane, support your dough during its final proof, helping it maintain shape and imparting a beautiful spiral pattern. Line them with a floured cloth or dust generously with rice flour to prevent sticking.
- Dutch Oven or Baking Stone: For that perfect crust and oven spring, a heavy-bottomed Le Creuset Dutch Oven or Staub Cocotte creates a steamy environment mimicking professional bread ovens. Alternatively, a baking stone with a tray of hot water can achieve similar results.
- Lame (Scoring Tool): A small, sharp blade for scoring your dough before baking. This controls where the bread expands, creating beautiful patterns and ensuring an even rise.
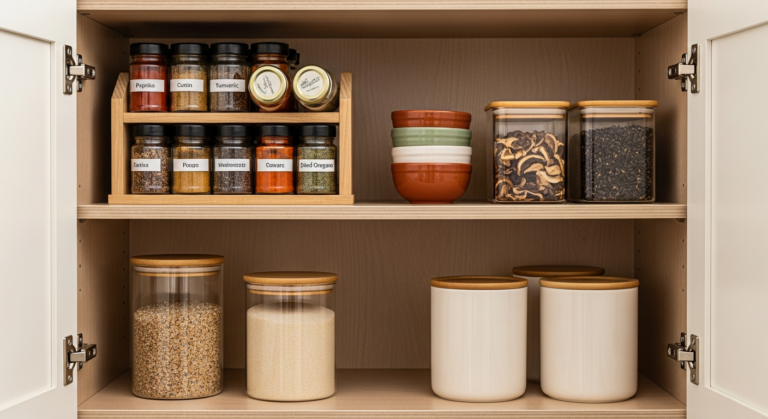
- Food-Grade Storage Containers: For your flours, airtight containers keep them fresh and free from pests. OXO Pop Containers are a popular choice for their airtight seal and stackable design.
- Probe Thermometer: While not strictly for starter maintenance, a good probe thermometer ensures your bread is baked to the perfect internal temperature for a fully cooked, delicious loaf.
These tools, thoughtfully chosen, not only enhance the efficiency of your sourdough routine but also add to the beauty and functionality of your kitchen. They are investments in your culinary journey, supporting your passion for creating wholesome, artisanal bread that nourishes both body and soul.
Beyond the Bake: Integrating Sourdough into Your Home & Lifestyle
Sourdough baking is more than just a culinary pursuit; it’s a lifestyle choice that deeply enriches your home and daily rhythm. The presence of a thriving sourdough starter, often nestled in a beautiful glass jar on your counter or in your fridge, serves as a gentle reminder of natural processes, patience, and the rewards of intentional living. Integrating sourdough into your home means embracing its cycles, appreciating the sensory experiences it offers, and allowing it to inspire creativity beyond the loaf itself.
Consider how the aesthetics of your sourdough setup can enhance your kitchen’s design. A well-chosen Weck jar with its classic lines, or a rustic ceramic crock, can be a charming focal point, reflecting a commitment to artisanal craftsmanship. Display your King Arthur Flour or Bob’s Red Mill flours in attractive, airtight containers, transforming everyday ingredients into visual elements. The act of baking itself, with its delightful aromas of fermenting dough and fresh bread, infuses your home with warmth and comfort, creating an inviting atmosphere that speaks volumes of hospitality and care.
Furthermore, the weekly sourdough ritual encourages a mindful approach to food and resources. The consistent feeding schedule fosters discipline and a deeper understanding of natural fermentation. And what about the sourdough discard? For the weekly baker, minimizing discard is a benefit of cold storage, but when you do have it, it’s a treasure, not waste. It can be transformed into an array of delicious treats, extending the joy of sourdough beyond the traditional loaf:
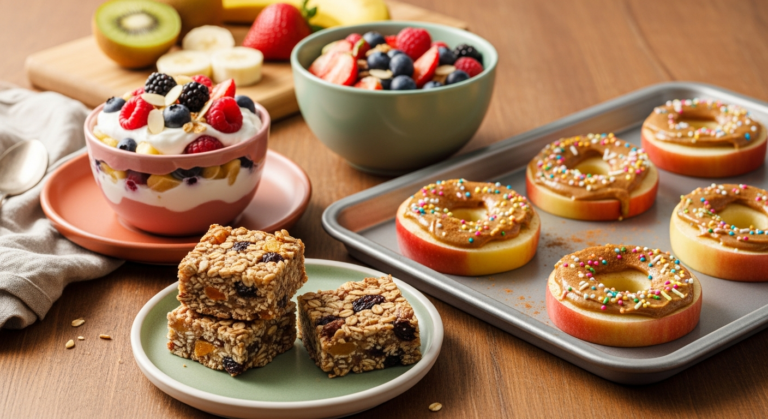
- Crispy Crackers: Mix discard with a little olive oil, salt, and herbs, then bake thin for a delightful snack.
- Fluffy Pancakes or Waffles: Substitute a portion of the liquid in your favorite recipe with discard for a subtle tang and tender texture.
- Savory Scones: Add discard to scone batter for a unique flavor profile.
- Focaccia or Pizza Dough: Discard can be a fantastic base for quick, no-knead focaccia or a tangy pizza crust.
- Fried Chicken Batter: Create an incredibly flavorful and crispy coating for fried chicken using sourdough discard.
These creative uses not only reduce food waste but also expand your culinary repertoire, making sourdough an even more versatile and cherished part of your kitchen. By embracing sourdough, you’re not just baking bread; you’re cultivating a deeper connection to your food, your home, and the timeless art of creation, enriching your lifestyle in profoundly delicious ways.
Key Takeaways
- Consistent Weekly Feeding: Feed your starter once a week, allowing it to become active before returning it to the refrigerator.
- Cold Storage is Your Ally: Refrigeration slows down microbial activity, allowing your starter to thrive for a week between feeds with minimal attention.
- Revival is Crucial: Always perform a robust feed (e.g., 1:2:2 or 1:3:3 ratio) 12-16 hours before baking, ensuring peak activity.
- Observe and Adjust: Pay attention to your starter’s signs of hunger (hooch, off-smell) or sluggishness, and adjust feeding ratios or warmth accordingly.
- Invest in Essential Tools: A digital scale, wide-mouth glass jars, and a Dutch oven are invaluable for a smooth and enjoyable sourdough journey.
Frequently Asked Questions
Q: Can I leave my sourdough starter on the counter all week if I bake weekly?
A: While technically possible, it’s generally not recommended for weekly bakers. Leaving your starter on the counter requires daily feeding (often twice a day in warmer climates) to keep it healthy and prevent it from becoming overly acidic and weak. Refrigeration between weekly bakes is a much more efficient and less wasteful method, perfectly suited for your routine. It conserves flour and reduces the need for constant attention.
Q: What if I miss a weekly feed? Will my starter die?
A: Don’t panic! Sourdough starters are remarkably resilient. If you miss a week, your starter might be very hungry, showing a dark hooch or a strong, acidic smell. Simply pour off the hooch (if present), discard most of the starter, and give it a generous feed. Let it activate at room temperature, then feed it again 4-6 hours later. Repeat this process until it shows strong activity and a pleasant smell. It might take a couple of feeds to bounce back, but it’s unlikely to die from one missed week.
Q: How much starter should I keep when I feed it weekly?
A: For weekly maintenance, you only need to keep a small amount, typically 15-30 grams (about 1-2 tablespoons). This small amount contains enough active cultures to inoculate your new feed. Keeping less starter means you use less flour for feeding and generate less discard, making your maintenance more economical and sustainable. Just ensure your feeding ratio is appropriate for the small amount you keep, like 1:1:1 or 1:2:2 (starter:flour:water).
Q: My starter doesn’t float after its pre-bake feed. What should I do?
A: A starter that doesn’t float indicates it hasn’t reached its peak activity yet. It needs more time and/or warmth. Ensure it’s in a warm spot (75-


