


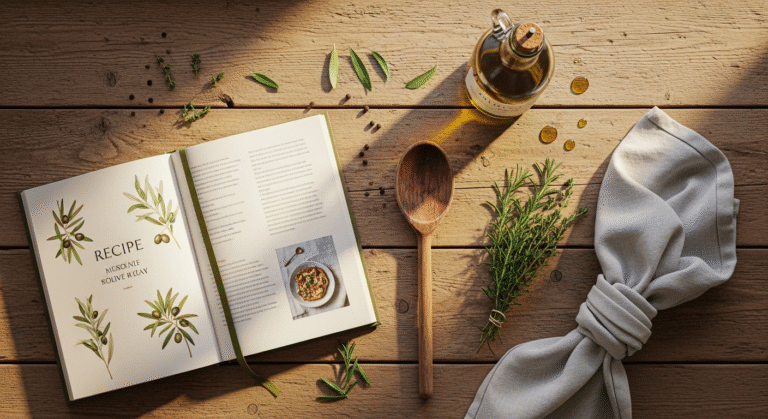

Mastering Your Slow Cooker: Delicious Recipes That Dodge the Dreaded Mush Problem
You’re not alone in this struggle. The quest for that perfect balance – food that’s cooked through, bursting with flavor, yet retains its integrity and delightful chew – is a noble one. At Rocksaltplum, we believe your home should be a sanctuary of comfort and joy, and that extends to the meals you lovingly prepare. That’s why we’re diving deep into the art and science of slow cooking, equipping you with the knowledge and techniques to banish the mush problem forever. Imagine serving a pot roast where the carrots still have a gentle bite, or a chili where the beans are tender but distinct. It’s not a dream; it’s entirely achievable with a few thoughtful adjustments and a dash of culinary wisdom. Get ready to transform your slow cooker from a mush-maker into a texture-master, creating dishes that are as visually appealing as they are delicious.
Understanding the “Mush Problem”: What Really Happens in There?
Before we can conquer the mush, we must first understand its origins. The slow cooker, while a marvel of convenience, operates under specific conditions that, if not managed correctly, can lead to textural disappointment. The primary culprits are usually a combination of factors: prolonged exposure to heat, an excess of liquid, and the wrong choice of ingredients for the cooking method.
Think of your slow cooker as a gentle, long-term braiser. It cooks at a lower temperature for an extended period, allowing connective tissues in meats to break down slowly, resulting in incredible tenderness. However, this same environment can be detrimental to delicate vegetables or quick-cooking starches. When ingredients are subjected to hours of simmering in a hot, steamy environment, their cell walls break down. For some foods, like tough cuts of meat, this is precisely what we want. For others, like broccoli florets or thin-sliced mushrooms, it can lead to a complete loss of structure, turning them into a soft, indistinct mass.
Another major contributor is often too much liquid. Unlike stovetop cooking where evaporation is constant, a slow cooker is a sealed environment. Very little liquid escapes, meaning that if you add the same amount of broth you would for a traditional stew, your ingredients will essentially be boiling for hours. This over-hydration accelerates the breakdown of cell walls and leeches out flavor, leaving you with watery, mushy results. The steam created by even a small amount of liquid is incredibly efficient at cooking, so often, less is truly more.
Finally, the type of ingredients themselves plays a crucial role. Some vegetables are simply not built for the long haul in a slow cooker. Leafy greens, soft squashes, and quick-cooking pasta or rice, when added at the beginning, will inevitably become overcooked and lose all form. Understanding which ingredients thrive in a slow cooker’s embrace and which need a more delicate touch is the first step towards culinary triumph.
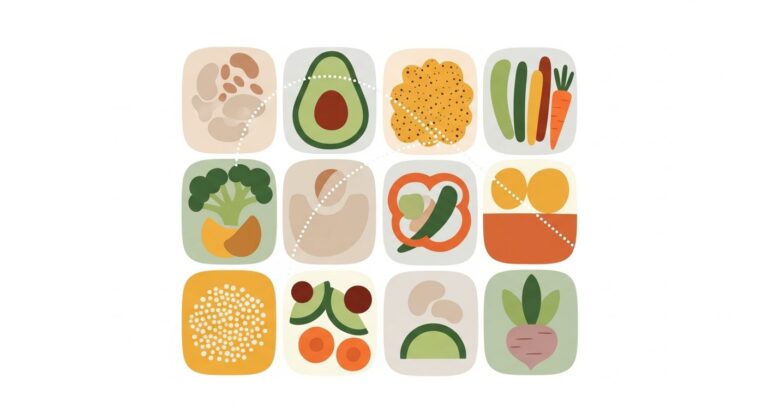
The Art of Ingredient Selection: Choosing Wisely for Texture and Taste
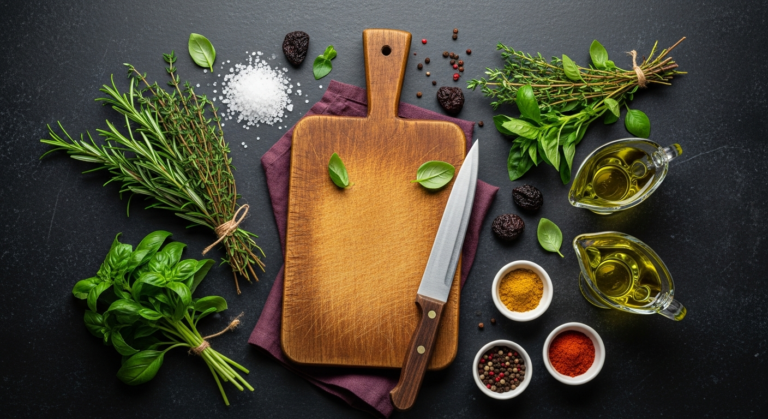
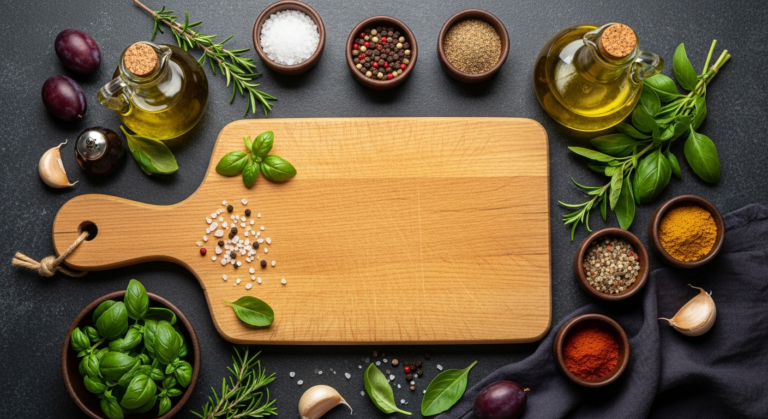
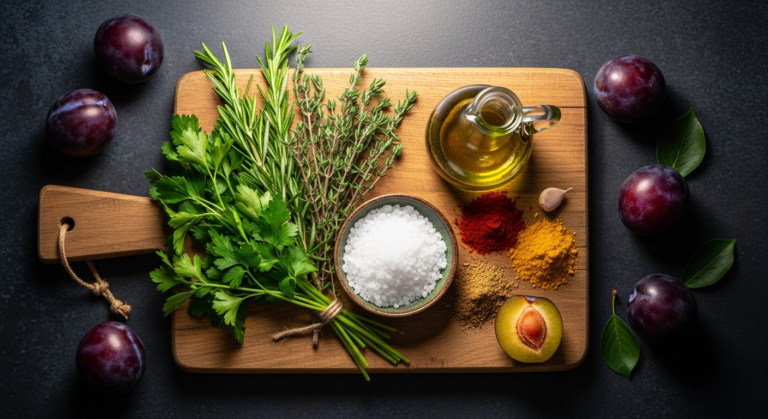
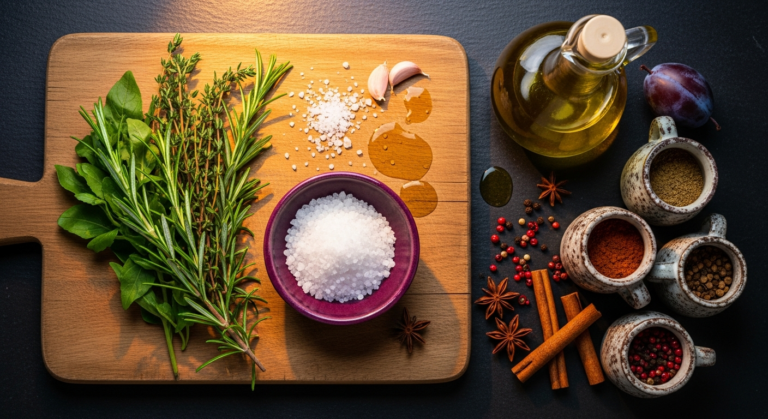
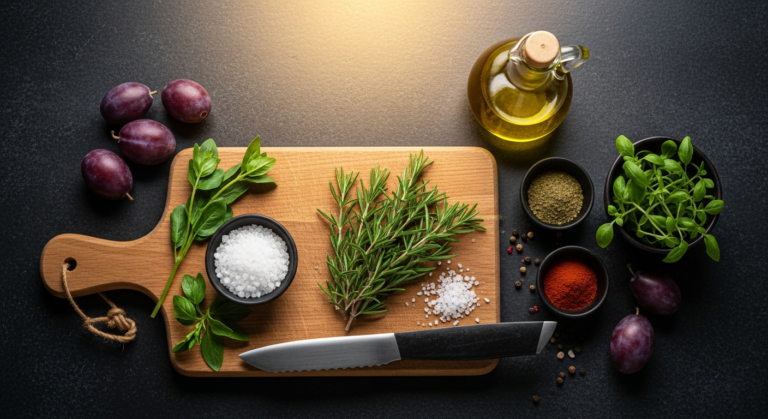
The foundation of any great slow cooker meal that avoids the mush problem lies in selecting the right cast of characters for your pot. Not all ingredients are created equal when it comes to long, slow cooking. Prioritizing sturdy, resilient components is key.
Meats That Stand Up to Time:
- Chuck Roast: The undisputed champion. Its marbling and connective tissue break down beautifully over hours, yielding incredibly tender, flavorful results without falling apart into shreds unless you want it to.
- Pork Shoulder (Boston Butt): Similar to chuck, pork shoulder is perfect for pulled pork or tender chunks that hold their shape remarkably well.
- Beef Short Ribs: Rich in flavor and collagen, short ribs become fall-off-the-bone tender while maintaining their distinctive shape and luxurious texture.
- Lamb Shoulder or Shank: Excellent choices for hearty stews, offering deep flavor and a satisfying chew even after extended cooking.
- Chicken Thighs: Dark meat chicken, with its higher fat content, remains juicy and flavorful, and holds its shape much better than delicate chicken breasts, which can become dry and stringy.
Vegetables That Retain Their Charm:
When it comes to vegetables, think firm and fibrous. These are the ones that can withstand hours of simmering without turning into a purée.
- Root Vegetables: Carrots, potatoes (especially waxy varieties like red or Yukon Gold, cut into larger chunks), sweet potatoes, parsnips, and rutabagas are excellent choices. Their dense structure allows them to soften to a tender bite without disintegrating.
- Cruciferous Vegetables (added later): Brussels sprouts, cauliflower florets, and broccoli can work, but they are best added in the last hour or two of cooking to prevent them from becoming too soft or developing an off-smell.
- Onions and Celery: These aromatic workhorses are fantastic for building flavor and provide a subtle textural element that blends well.
- Bell Peppers: While they soften considerably, red, yellow, and orange bell peppers still offer a pleasant sweetness and some structure when cut into larger pieces.
- Squash (Butternut, Acorn): Similar to root vegetables, these hard-shelled squashes hold up well, softening to a creamy texture.
Ingredients to Add Later (or Avoid Entirely):
- Delicate Greens: Spinach, kale, and other leafy greens should only be stirred in during the last 15-30 minutes of cooking.
- Mushrooms: While some varieties like cremini or shiitake can handle longer cooking, they often become quite soft. For better texture, add them towards the end.
- Pasta and Rice: Never add these at the beginning! They will absorb too much liquid and become an unrecognizable mush. Cook them separately and add to individual bowls, or stir in quick-cooking varieties (like orzo or small pasta shapes) during the last 30 minutes with extra liquid if needed.
- Dairy Products: Milk, cream, sour cream, or yogurt can curdle if cooked for too long at high heat. Stir them in at the very end, just before serving, to add richness and creaminess.
- Fresh Herbs: Delicate herbs like parsley, cilantro, or basil lose their vibrant flavor and color with prolonged cooking. Reserve them for a fresh garnish at the end.
By making conscious choices about your ingredients, you’re setting yourself up for textural success from the very start. Think of it as composing a symphony where each instrument plays its part without overpowering the others.
Timing is Everything: Layering and Staging for Perfect Texture
Beyond choosing the right ingredients, *when* you add them to the slow cooker is just as critical for preventing mushiness. This technique, often called “staging” or “layering,” allows you to control the cooking time for different components, ensuring everything reaches its optimal tenderness without overcooking. It’s a simple yet powerful strategy that will elevate your slow cooker game significantly.
The Basic Principle:
Ingredients that require the longest cooking time go in first, at the bottom of the pot, where they are closest to the heat source. Ingredients that cook faster are added later, often closer to the end of the cooking cycle.
A Step-by-Step Approach:
- Foundation (First 15 minutes of cooking, or at the start):
- Tough Meats: Place your chuck roast, pork shoulder, short ribs, or lamb shanks at the very bottom. These need the most time to become tender.
- Hard Root Vegetables: Layer sturdy vegetables like large chunks of potatoes, carrots, parsnips, or sweet potatoes around and under the meat. They can withstand long cooking times and provide a base for other ingredients.
- Aromatics: Onions and celery can go in at this stage, as they will soften and release their flavors into the entire dish.
- Mid-Cooking Additions (Last 1-2 hours of cooking):
- Firmer Vegetables: This is the time to add vegetables that you want to retain a bit more bite, such as bell peppers, green beans, corn on the cob (cut into segments), or firmer squash like butternut.
- Cruciferous Vegetables: Broccoli florets or Brussels sprouts, if you’re using them, should be added here. They’ll soften but retain some structure and avoid becoming too pungent.
- Beans: If using canned beans (rinsed), add them now. Dried beans, however, generally need to be added at the beginning with the meat, or even pre-soaked/pre-cooked, depending on the recipe.
- Finishing Touches (Last 15-30 minutes, or just before serving):
- Delicate Greens: Spinach, kale, or Swiss chard can be stirred in now. The residual heat will wilt them perfectly without turning them into slime.
- Quick-Cooking Starches: If your recipe calls for pasta or rice (e.g., in a soup or casserole), cook it separately and add it to individual bowls, or if using a quick-cooking variety, add it directly to the slow cooker with extra liquid during these last minutes, ensuring it’s cooked through but not mushy.
- Dairy Products: Stir in sour cream, cream cheese, or heavy cream to enrich and thicken your sauce.
- Fresh Herbs: Sprinkle in fresh parsley, cilantro, basil, or dill for a burst of vibrant flavor and color.
- Citrus Juices: A squeeze of lemon or lime juice at the end can brighten flavors and prevent a dish from tasting “flat.”
Practical Application:
For a beef stew, you might start with beef chuck, potatoes, and carrots. Two hours before serving, you could add bell peppers and corn. Just before serving, stir in some fresh parsley and a dollop of sour cream. This strategic addition ensures that every component of your meal is cooked to perfection, contributing its unique texture and flavor without succumbing to the dreaded mush.
Liquid Logic: Less is More for Richer Flavors
One of the most common mistakes in slow cooking is adding too much liquid. It’s an understandable oversight; in traditional stovetop cooking, we often need to cover ingredients with liquid to ensure even cooking and prevent burning. However, the slow cooker operates under entirely different principles. Its tightly sealed lid traps moisture, creating a self-basting environment where very little liquid evaporates. This means that if you use the same amount of broth you would for a conventional stew, you’ll end up with a watery, diluted, and ultimately mushy outcome.
The Slow Cooker’s Self-Basting Secret:
The gentle, consistent heat inside a slow cooker draws out moisture from the ingredients themselves. Vegetables release their natural juices, and even meats contribute some liquid as they cook. This internal moisture, combined with any added liquid, circulates within the sealed environment, effectively cooking the food without the need for vast quantities of external broth.
How Much Liquid is Enough?
- Start Small: A good rule of thumb is to start with about half to two-thirds of the liquid you would typically use for a stovetop recipe.
- Meat-Based Dishes: For recipes centered around meat and root vegetables, often as little as 1/2 to 1 cup of liquid is sufficient for a 6-quart slow cooker. The meat and vegetables will release plenty of their own moisture.
- Soups and Chilis: Even for recipes designed to be more liquid-heavy, you might find you need less than you think. You can always add more hot broth or water towards the end of cooking if it’s too thick, but you can’t easily remove excess liquid.
- Consider the Ingredients: Recipes heavy in high-moisture vegetables (like mushrooms, zucchini, or tomatoes) will naturally produce more liquid. Adjust accordingly.
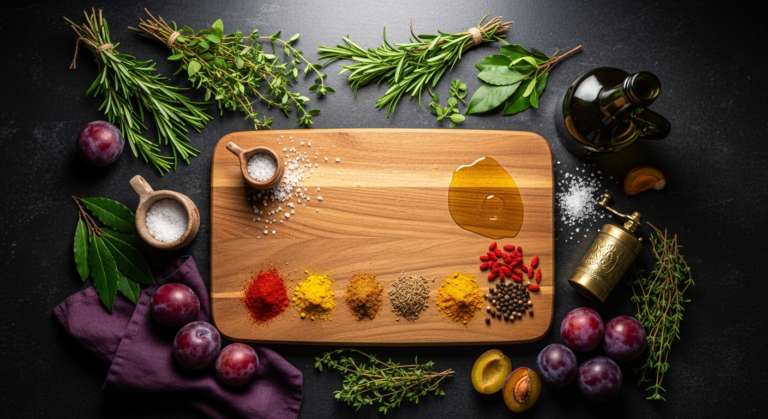
- Use Concentrated Flavors: Since you’re using less liquid, make sure the liquid you do add is packed with flavor. Opt for high-quality chicken or beef broth (like Bonafide Provisions Bone Broth for added nutrition and depth), wine, or beer instead of just water.
The Benefits of Less Liquid:
- Intensified Flavors: With less dilution, the flavors of your ingredients become more concentrated and robust. Your spices, herbs, and aromatics will shine.
- Better Texture: Less liquid means your ingredients are simmering, not boiling. This gentler cooking helps maintain their structure and prevents them from becoming waterlogged and mushy.
- Richer Sauces: The reduced amount of liquid naturally leads to a thicker, more luscious sauce or gravy, often requiring less (or no) additional thickening at the end.
Before you begin, take a moment to assess your recipe and the ingredients. If it looks like it’s calling for an excessive amount of liquid, don’t be afraid to scale it back. You’ll be pleasantly surprised by the depth of flavor and superior texture you achieve.
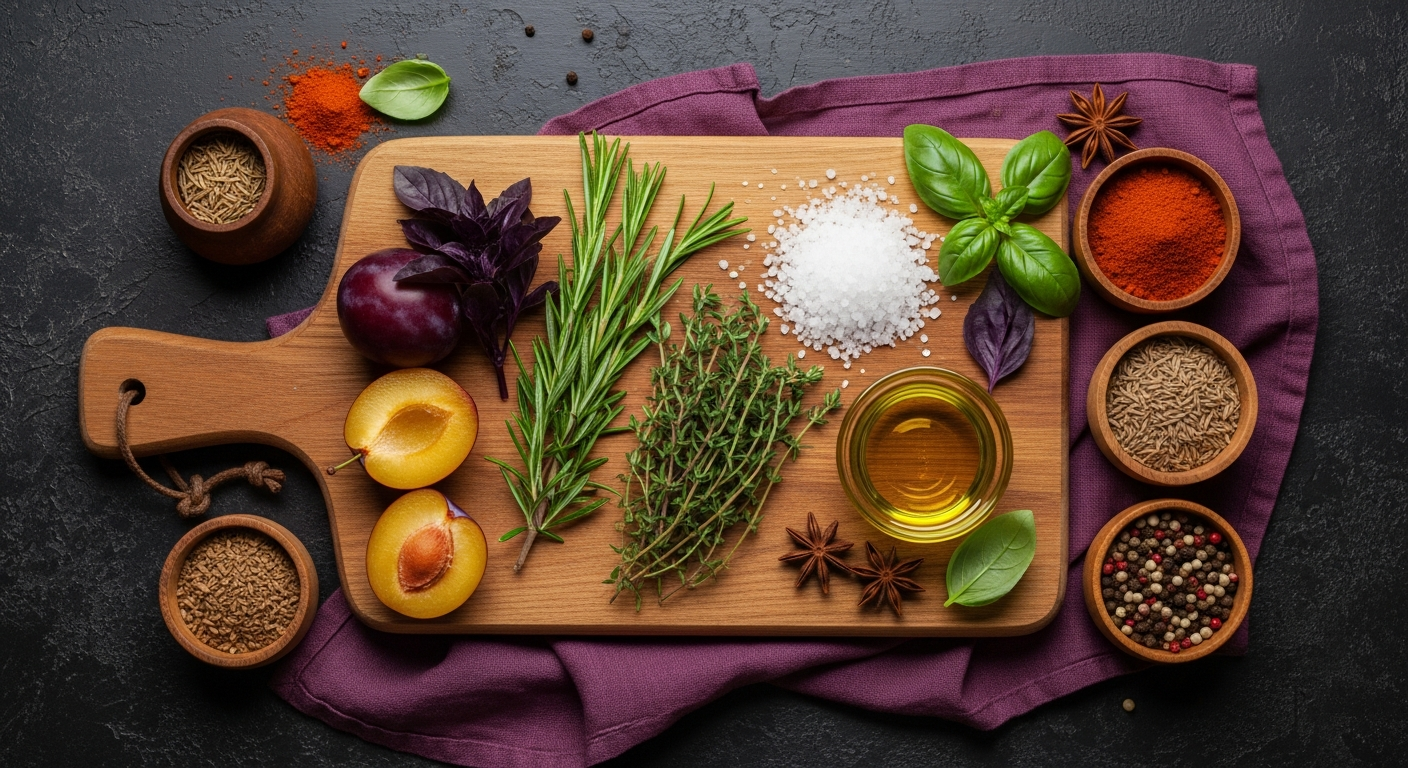
Texture Transformers: Acidity, Al Dente, and Smart Seasoning
Beyond ingredient choice and liquid control, there are several “texture transformers” you can employ to further enhance your slow cooker creations. These techniques focus on brightening flavors, preventing blandness, and ensuring that every bite offers a satisfying experience.
The Magic of Acidity:
Adding a touch of acid at the right moment can dramatically lift and balance the flavors of a slow-cooked dish. Long cooking can sometimes mellow out and flatten flavors, making them taste one-dimensional. Acidity acts as a counterpoint, brightening the overall profile and making other flavors pop.
- Lemon or Lime Juice: A squeeze of fresh lemon or lime juice stirred in just before serving can awaken a stew, chili, or pulled pork. It adds a vibrant tang and can even make a dish feel lighter.
- Vinegars: A splash of red wine vinegar, balsamic vinegar, or apple cider vinegar (depending on the cuisine) added in the last 30 minutes or at the end can provide a deep, complex acidity. For example, a touch of red wine vinegar in a beef bourguignon or a splash of apple cider vinegar in pulled pork can be transformative.
- Tomatoes: Canned tomatoes (diced, crushed, or paste) provide natural acidity and umami, which can help prevent dishes from becoming overly rich or bland. Add them earlier in the cooking process to allow their flavors to meld.
Achieving Al Dente Perfection:
For dishes that include pasta or rice, achieving that perfect al dente bite in a slow cooker can seem impossible, but it’s not! The key is to treat these ingredients separately or add them at the very end.
- Cook Separately: The most reliable method for pasta, rice, or even grains like farro or quinoa is to cook them on the stovetop according to package directions. Then, add them to individual serving bowls and ladle the slow cooker mixture over them. This prevents them from becoming gummy and mushy in the pot.
- Late Addition for Quick-Cooking Grains/Pasta: If you absolutely want to cook them in the slow cooker, choose small, quick-cooking varieties like orzo, ditalini, or instant rice. Add them during the last 20-30 minutes of cooking, along with an extra splash of hot broth or water, to ensure they have enough liquid to absorb without making the entire dish too thick or dry. Stir frequently during this final stage.
Smart Seasoning and Finishing Touches:
Seasoning isn’t just about salt and pepper at the beginning. It’s an ongoing process that culminates in the final moments before serving.
- Layered Seasoning: Start with a good base of salt, pepper, and dried herbs/spices. Taste and adjust throughout the cooking process. Remember that flavors will concentrate as the dish cooks, so be mindful not to over-salt early on.
- Fresh Herbs: As mentioned, fresh herbs like parsley, cilantro, chives, or basil should be added at the very end. They provide a burst of fresh flavor, aroma, and color that brightens the entire dish.
- Richness and Creaminess: Dairy products like heavy cream, sour cream, cream cheese, or Greek yogurt should be stirred in just before serving. The gentle heat will warm them through without curdling, adding a luxurious texture and mellowing any sharp flavors.
- Thickeners: If your sauce is too thin, create a slurry of cornstarch or flour with a little cold water. Stir it into the hot liquid in the slow cooker during the last 30 minutes of cooking on the HIGH setting, stirring occasionally until thickened. Arrowroot powder is another excellent gluten-free option.
- Crunchy Toppings: Don’t underestimate the power of contrast! A sprinkle of toasted nuts, crunchy croutons, crispy fried onions, or even a dollop of fresh salsa can provide a welcome textural counterpoint to a tender slow-cooked meal.
By thoughtfully applying these texture transformers, you’re not just preventing mush; you’re actively building layers of flavor and mouthfeel that will make your slow cooker meals truly unforgettable.
The Browning Bonus: Searing for Deeper Flavor and Better Texture
While the slow cooker excels at tenderizing, it doesn’t do much for developing rich, caramelized flavors on the surface of your ingredients. This is where the “browning bonus” comes in. Searing meat and sometimes even some vegetables before they go into the slow cooker is a game-changer for depth of flavor and can even contribute to better texture by creating a protective crust.
Why Searing Matters: The Maillard Reaction
The Maillard reaction is a chemical process between amino acids and reducing sugars that gives browned food its distinctive flavor. Think of the crust on a perfectly seared steak, the golden-brown exterior of roasted vegetables, or the deep color of caramelized onions. This reaction creates hundreds of new flavor compounds that simply cannot be achieved through slow cooking alone. When you skip this step, your slow-cooked dish, while tender, can sometimes lack complexity and taste a bit “flat.”
Benefits of Browning Your Ingredients:
- Intense Flavor Development: This is the primary reason. Searing creates a rich, savory crust on meat, locking in juices and adding layers of umami that permeate the entire dish as it cooks.
- Improved Color: A beautifully browned piece of meat looks far more appetizing than one that has simply simmered.
- Enhanced Texture: The seared exterior can help the meat hold its shape better during long cooking, preventing it from completely falling apart (unless that’s your desired outcome, like for pulled pork).
- “Fond” for Flavor: The browned bits left at the bottom of your searing pan (the “fond”) are pure flavor gold. Deglaze the pan with a splash of wine or broth and scrape up these bits, then add them to your slow cooker along with the meat. This infuses your sauce with incredible depth.
How to Brown Effectively:
- Use a Heavy-Bottomed Skillet: A cast iron skillet or a heavy stainless steel pan (like those from All-Clad or Le Creuset) is ideal for searing as it retains heat well and provides even browning.
- High Heat: Heat a tablespoon or two of high-smoke-point oil (like canola, grapeseed, or avocado oil) over medium-high to high heat until shimmering.
- Don’t Crowd the Pan: Sear meat in batches. If you overcrowd the pan, the temperature will drop, and the meat will steam rather than brown, leading to a gray, unappetizing result. Give each piece space.
- Pat Dry: Ensure your meat is patted thoroughly dry with paper towels before searing. Excess moisture will prevent browning.
- Resist the Urge to Move: Let the meat sit undisturbed in the hot pan for several minutes until a deep brown crust forms. Flip and repeat on all sides.
- Searing Vegetables: While less common, searing aromatic vegetables like onions, carrots, and celery before adding them can also deepen their flavor. This is particularly effective for recipes where these vegetables form the base of the sauce.
This extra step takes only a few minutes but yields disproportionately significant results in terms of flavor and overall quality. It’s a small investment of time that pays dividends in deliciousness, transforming a good slow cooker meal into a truly exceptional one.
Beyond the Basics: Advanced Slow Cooker Techniques for Texture Control
Once you’ve mastered ingredient selection, timing, and liquid control, you can explore some more advanced techniques to truly customize the texture of your slow cooker meals. These methods help create variety within a single pot and ensure even more consistent results.
Using a Trivet or Rack:
A simple metal trivet or a small oven-safe rack placed at the bottom of your slow cooker can be a game-changer, especially for dishes where you want to keep certain ingredients out of the liquid.
- For Roasts: Placing a roast (like a whole chicken or a large pork loin) on a trivet elevates it above the simmering liquid. This allows the meat to steam gently while still cooking in the flavorful environment, preventing the bottom from becoming overly soggy or falling apart too quickly. The drippings collect below, forming a rich sauce.
- For Baking: Yes, you can “bake” in a slow cooker! Place a small baking dish (like a loaf pan or a round cake pan) on a trivet inside the slow cooker. Add about an inch of water to the bottom of the slow cooker (outside the baking dish) to create a water bath. This is perfect for cheesecakes, custards, or even small loaves of bread that benefit from a moist, even heat.
Foil Packets for Delicate Ingredients:
If you have ingredients that need to cook for a shorter period or that you want to keep separate from the main liquid, foil packets are your friend.
- Steaming Vegetables: Wrap delicate vegetables like asparagus, green beans, or even fish fillets in foil packets with a pat of butter and seasonings. Place these packets on top of your main dish or on a trivet during the last hour or so of cooking. They’ll steam perfectly, retaining their crisp-tender texture and vibrant color.
- Adding Rice/Grains: For a hands-off approach to cooking rice or quinoa *with* your slow cooker meal, combine 1 part grain with 1.5-2 parts hot broth/water in a foil packet. Seal tightly and place on top of your main slow cooker contents for the last 45-60 minutes. This essentially steams the grains, preventing them from becoming mushy and absorbing too much liquid from the main dish.
Understanding Your Slow Cooker’s Settings (Low vs. High):
While most slow cooker recipes specify a setting, understanding the difference can give you more control.
- LOW Setting: This is generally preferred for tougher cuts of meat and for recipes where you want the most tender, fall-apart results. The lower temperature and longer cooking time allow connective tissues to break down gradually, resulting in superior texture and flavor. It typically cooks at around 200°F (93°C).
- HIGH Setting: This setting cooks faster, usually at around 300°F (149°C). It’s useful for recipes with more delicate ingredients that you don’t want to overcook, or when you need to speed up the process. However, be cautious, as the higher heat can more easily lead to mushy vegetables or dry meat if not monitored. Use it for recipes where you’re adding ingredients in stages, or for finishing touches like thickening sauces.
- Keep Warm Setting: This setting is fantastic for holding food at a safe serving temperature without continuing to cook it. It’s perfect for when your meal is done but your family isn’t quite ready to eat.
Slow Cooker Comparison Table: Choosing Your Culinary Companion
To further empower your slow cooking journey, let’s look at some popular slow cooker options and what they offer in terms of preventing the mush problem and enhancing your cooking experience. While the techniques are universal, the right tool can make a difference.
| Feature/Brand | Crock-Pot Programmable | Instant Pot Duo (Slow Cooker Function) | Cuisinart 3-in-1 Cook Central |
|---|---|---|---|
| Primary Function | Dedicated Slow Cooker | Multi-Cooker (Pressure, Slow Cook, Sauté, etc.) | Multi-Cooker (Slow Cook, Brown/Sauté, Steam) |
| Mush Prevention Advantage | Reliable low & high settings for gentle cooking. | Sauté function allows browning in the same pot, reducing dishes and building flavor. Precise temperature control. | Built-in brown/sauté function in the same pot. Dedicated steam function for delicate ingredients. |
| Temperature Control | Standard Low/High/Warm | More precise digital temperature control, often with custom time settings. | Digital controls for precise temperature and time on all functions. |
| Programmability | Often programmable for specific cook times, then auto-switches to warm. | Highly programmable, including delayed start, keep warm, and custom settings. | Fully programmable with auto-keep warm. |
| Ease of Cleaning | Removable stoneware insert is dishwasher safe. | Stainless steel inner pot is dishwasher safe. | Non-stick aluminum pot is dishwasher safe. |
| Ideal For | Traditional, set-it-and-forget-it slow cooking. Budget-friendly. | Cooks who want versatility, speed (pressure cooking), and the convenience of browning in one pot. | Those who want integrated browning/sautéing and slow cooking without pressure. |
Whether you’re using a classic Crock-Pot, the versatile Instant Pot, or a premium appliance like the Cuisinart Cook Central, understanding these techniques will help you get the most out of your appliance and ensure your meals are perfectly textured every time.
Key Takeaways
- Choose Sturdy Ingredients: Opt for tough cuts of meat and dense root vegetables that can withstand long cooking times.
- Master Layering and Timing: Add longer-cooking ingredients first and delicate items towards the end to prevent overcooking.
- Control Liquid Levels: Use significantly less liquid than traditional recipes, as slow cookers retain moisture, leading to richer flavors and better texture.
- Embrace Searing: Brown meats and aromatics before slow cooking to develop deeper flavors and a more appealing appearance.
- Finish with Flair: Incorporate acidity, fresh herbs, and dairy at the end to brighten flavors and add textural contrast.
Conclusion: Your Slow Cooker, Reimagined for Culinary Excellence
Dear homemaker, you now hold the keys to unlocking the true potential of your slow cooker. No longer will you dread lifting that lid, wondering if your lovingly prepared meal has dissolved into an indistinguishable, albeit tasty, purée. By understanding the nuances of ingredient selection, mastering the art of timing and layering, controlling your liquid, and embracing simple yet powerful techniques like searing and finishing touches, you are poised to create slow-cooked masterpieces that are not only bursting with flavor but also boast a delightful array of textures.
Imagine the joy of serving a succulent pot roast where the beef is fall-apart tender, the carrots still have a gentle bite, and the sauce is rich and vibrant, not watery. Picture a hearty chili where every bean is distinct, and the toppings add a fresh, zesty crunch. These aren’t just meals; they’re expressions of your care, your creativity, and your desire to bring comfort and joy to your home. Your slow cooker, once a source of occasional textural frustration, will now become your most reliable ally in the kitchen, a tool that effortlessly delivers delicious, perfectly textured meals, freeing up your precious time for what truly matters.
So, go forth with confidence! Experiment with new recipes, apply these newfound techniques, and rediscover the sheer delight of slow cooking. Your family’s taste buds, and your own, will thank you for it. Happy cooking!
Frequently Asked Questions
Q: Can I put frozen meat directly into a slow cooker?
A: It is generally not recommended to put frozen meat directly into a slow cooker. The slow cooker takes too long to bring the meat up to a safe temperature, allowing it to spend an extended period in the “danger zone” (between 40°F and 140°F / 4°C and 60°C) where harmful bacteria can multiply. Always thaw meat completely in the refrigerator before adding it to your slow cooker for food safety reasons.


