


The Art of the Plate: Professional Plating Techniques for Home Cooks in 2026
We often hear the culinary adage that “we eat with our eyes first.” In the modern culinary landscape of 2026, this sentiment has evolved from a simple kitchen proverb into a foundational pillar of the home dining experience. As home cooking technology and access to gourmet ingredients have reached an all-time high, the bridge between the professional kitchen and the domestic dining room has narrowed. Plating is no longer just about placing food on a dish; it is about storytelling, architecture, and sensory anticipation. Transforming a delicious meal into a visual masterpiece requires a blend of artistic intuition and technical precision. By mastering professional plating techniques, you elevate the act of eating into an immersive event, showing your guests—and yourself—that the effort put into the flavor is matched by the respect given to the presentation. Whether you are hosting a formal dinner party or simply enjoying a quiet Tuesday night meal, these professional techniques will redefine your relationship with food.
1. The Foundations of Composition: Color, Texture, and Contrast
Before a single morsel touches the ceramic, a professional chef considers the “canvas.” The foundation of elite plating lies in the balance of three core elements: color, texture, and contrast. In 2026, the trend has shifted away from monochromatic “beige” meals toward vibrant, high-contrast displays that signal freshness and nutritional density.
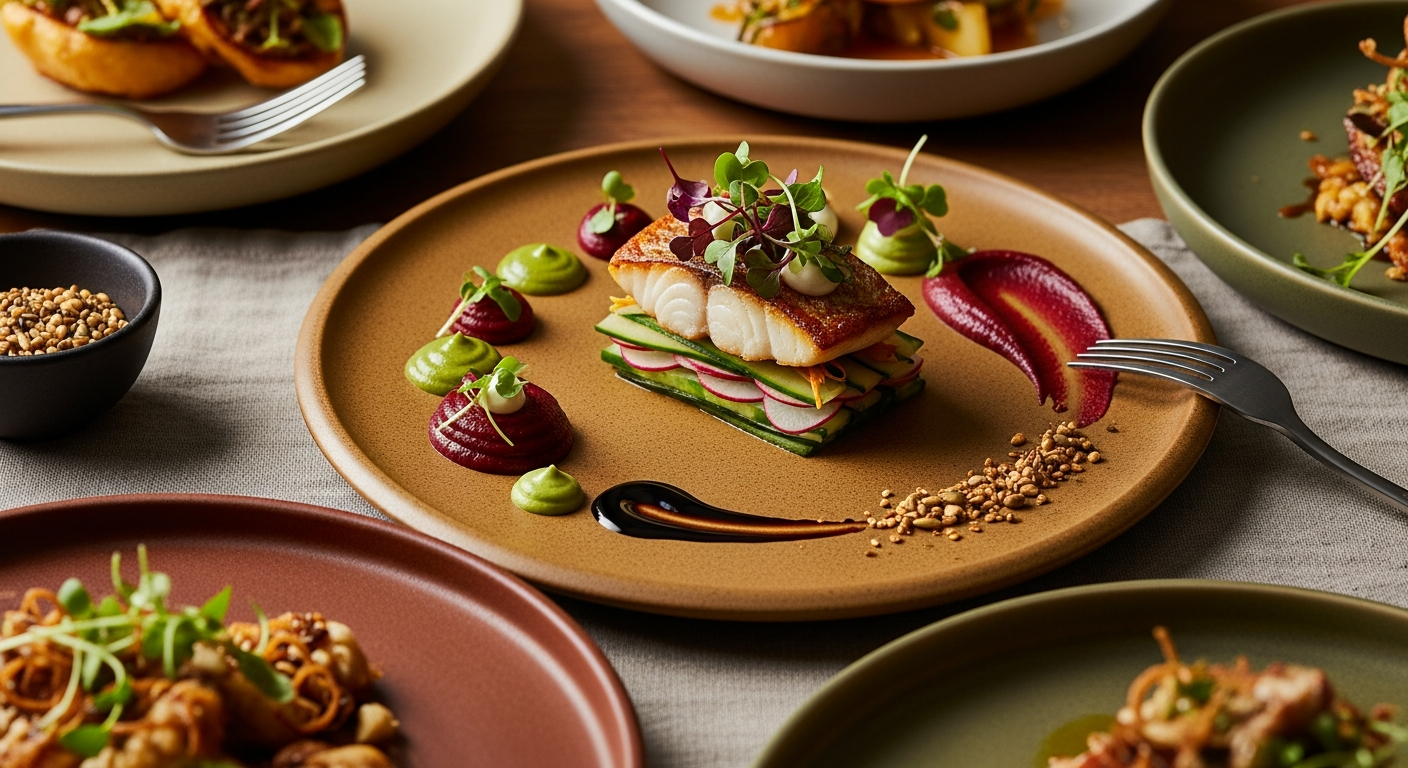
**Color Palette:** Aim for a variety of hues that complement rather than clash. If you are serving a piece of white fish, avoid pairing it solely with cauliflower puree and white potatoes. Instead, introduce a vibrant pop of color with a bright green pea emulsion or deep purple roasted carrots. Natural pigments are your best friend; use the deep reds of beets or the neon yellows of turmeric-infused oils to create visual excitement.
**Textural Diversity:** A plate that looks “flat” often lacks texture. Professional plating utilizes texture to create visual depth. Think of a smooth, velvety parsnip puree as a base, topped with a succulent protein, and finished with something crunchy, like toasted hazelnuts or dehydrated kale chips. This variation doesn’t just look better; it creates a more satisfying “mouthfeel” that keeps the diner engaged with every bite.
**Contrast and Focus:** Every plate needs a focal point—usually the protein. Position your main component so that it stands out, using the other elements to frame it. Contrast can also be achieved through temperature and shape; a cold, crisp radish slice against a warm, soft braised short rib creates a dynamic tension that defines high-end gastronomy.
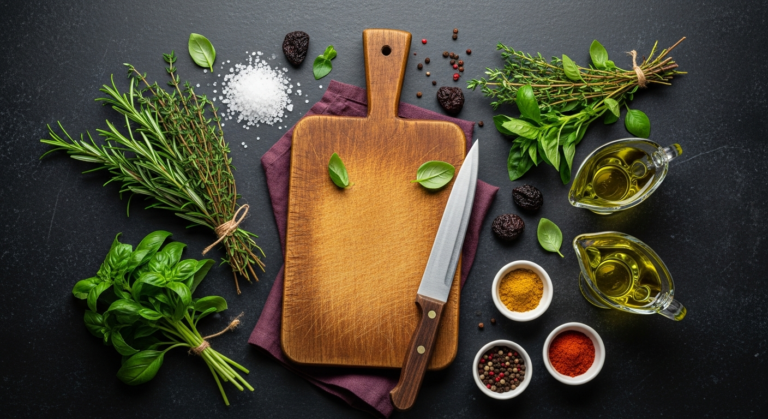
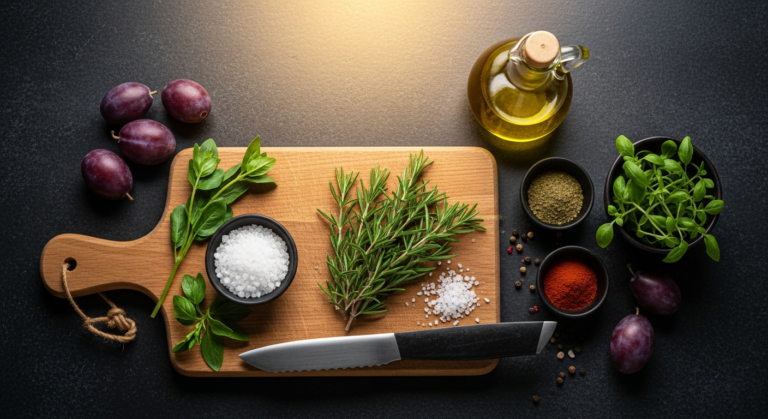
2. Essential Tools of the Trade: Beyond the Standard Fork
You cannot achieve professional results without the right instruments. While your grandmother’s serving spoon has its place, modern plating in 2026 relies on a specific set of “precision tools” that allow for the meticulous placement of ingredients.
* **Plating Tweezers:** These are perhaps the most iconic tool of the modern chef. Long, stainless steel tweezers allow you to place microgreens, delicate herbs, or small garnishes with surgical precision without disturbing the rest of the dish.
* **Squeeze Bottles:** For those perfect dots and intricate lines of sauce, squeeze bottles are essential. They provide far more control than a spoon, allowing you to create consistent patterns or “pearls” of vinaigrette.
* **Offset Spatulas:** Small offset spatulas are perfect for spreading purees or lifting delicate pieces of fish onto the plate without breaking them. They provide the leverage needed for a smooth, “swoosh” effect.
* **Kitchen Mandoline:** Consistency is the hallmark of a professional. A mandoline ensures that every radish, apple, or cucumber slice is exactly the same thickness, providing a geometric regularity that looks intentional and polished.
* **Plating Rings (Molds):** If you want to create height or perfectly circular stacks of grains, tartare, or vegetables, plating rings are your secret weapon. They provide structure and clean edges that are impossible to achieve by hand.
3. The Architecture of the Plate: Height and Negative Space
One of the most common mistakes home cooks make is “crowding the plate.” In professional kitchens, “negative space”—the empty area of the plate—is considered just as important as the food itself. It allows the eye to rest and focuses the attention on the culinary creation.
**Building Height:** Flat food is boring food. To create a professional look, think vertically. Instead of laying three stalks of asparagus side-by-side, lean them against a mound of risotto or stack them in a “log cabin” style. Use your starch (mash, grains, or legumes) as a pedestal for your protein. By lifting the food off the surface of the plate, you create a sense of grandeur and elegance.
**The Rule of Odds:** There is a psychological component to plating. Objects arranged in odd numbers (threes, fives, or sevens) are more aesthetically pleasing to the human eye than even numbers. If you are serving scallops or prawns, aim for three or five rather than four. This creates a sense of movement and prevents the plate from looking too “symmetrical” or clinical.
**The Clock Method vs. Modern Free-form:** The “old-school” method of plating suggests protein at 6 o’clock, starch at 10, and vegetables at 2. While this is a safe fallback, 2026 culinary trends favor a “free-form” or “organic” approach. This involves placing components in a curved line or an asymmetrical cluster, which feels more artistic and less like a school cafeteria tray.
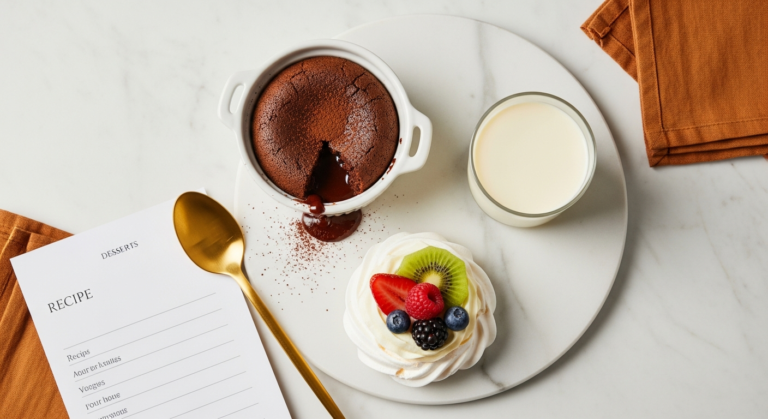
4. Saucing Techniques: From Swooshes to Mirrors
The sauce is often the soul of the dish, but it can also be its visual undoing if not handled correctly. A puddle of watery gravy can ruin a beautifully cooked steak. Mastering professional saucing techniques is the quickest way to elevate your home cooking.
**The “Swoosh” or Smear:** This is a classic restaurant move. Place a large dollop of thick puree on one side of the plate. Take the back of a spoon, press into the center of the dollop, and quickly drag it across the plate in a curved motion. This creates a beautiful “teardrop” shape that serves as a bed for your protein.
**The Mirror:** In this technique, the sauce is poured onto the plate first, covering the entire bottom surface in a thin, even layer (the “mirror”). The components are then carefully placed on top. This is particularly effective for pasta dishes or delicate proteins where you want the sauce to be present in every bite without drowning the ingredients.
**Dots and Droplets:** Using your squeeze bottle, apply dots of sauce in varying sizes. You can create a trail of dots that get progressively smaller, or intersperse different colored sauces (like a green herb oil and a red coulis) for a vibrant, polka-dot effect.
**The Drizzle:** For a more rustic, “chef-y” look, a controlled drizzle can work wonders. The key is movement; don’t just pour. Use a spoon or bottle to move quickly across the plate in a zig-zag pattern, ensuring the sauce looks energetic rather than messy.
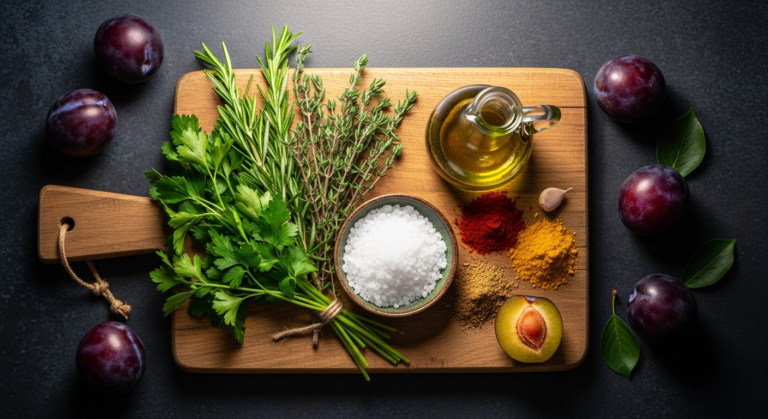
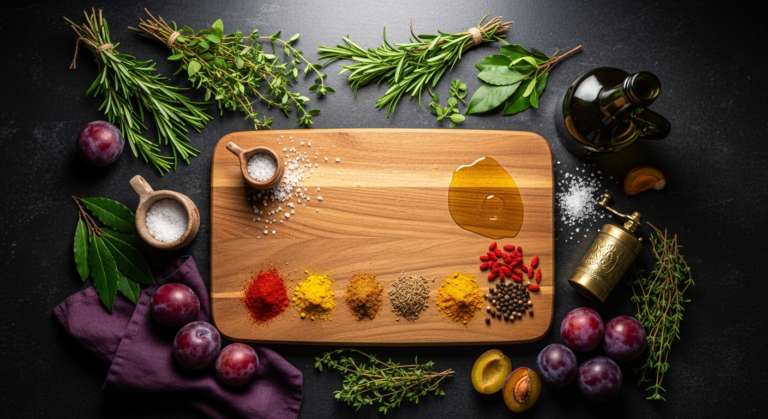
5. Garnishing with Purpose: The Final Flourish
Garnishing is the final step, but it should never be an afterthought. In 2026, the “parsley sprig” of the 1990s is long gone. Every garnish must be edible and must enhance the flavor profile of the dish.
**Microgreens and Shoots:** These provide a delicate, high-end look and a concentrated burst of flavor. Pea shoots, micro-radish, or shiso leaves add height and a touch of “garden-fresh” elegance. Always use tweezers to place these so they don’t look crushed.
**Edible Flowers:** For a truly stunning presentation, edible flowers like pansies, nasturtiums, or borage blossoms add incredible pops of color. Use them sparingly to avoid making the plate look like a bouquet.
**Herb Oils:** A vibrant green herb oil (made by blanching herbs and blending them with oil) can be used to add “jewels” of color to a sauce or puree. A few drops of bright green oil on a white cream soup create an instant professional upgrade.
**Dusts and Crumbles:** Toasted breadcrumbs, dehydrated olive dust, or crushed nuts add a final layer of texture. Sprinkle them in a concentrated line or a light “snow” over specific components to add visual interest and a crunch that completes the dish.
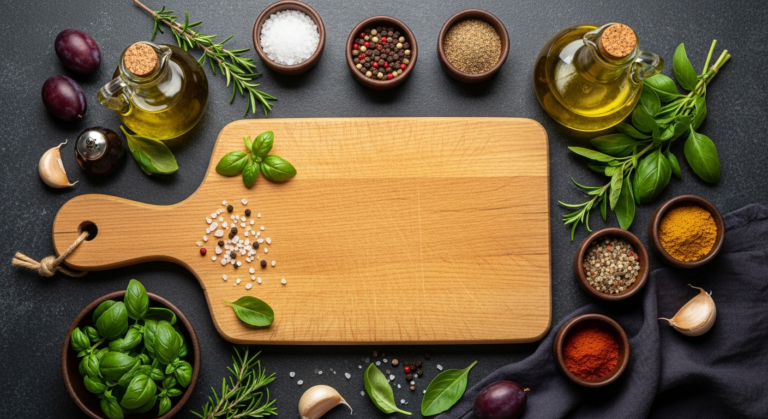
6. The Canvas: Choosing and Preparing Your Plates
The plate itself is the foundation of your art. While white porcelain remains the gold standard because it makes colors pop, 2026 has seen a rise in artisanal, matte-finish ceramics and dark, earthy tones like charcoal or deep navy.
**Size Matters:** Choose a plate that is large enough to allow for negative space. If the plate is too small, the food will look cramped. If it is too large, the portion might look meager. Finding the “Goldilocks” zone is key.
**Temperature Control:** A professional secret that many home cooks overlook is the temperature of the plate. Always serve hot food on a warmed plate and cold food on a chilled plate. A warm plate prevents the fats in your sauce from congealing and keeps the meal at its peak for longer. You can warm plates in a low oven or by rinsing them in hot water and drying them just before plating.
**Cleanliness:** Before the plate leaves the kitchen, perform a final “rim check.” Use a clean cloth dipped in a little white vinegar or lemon juice to wipe away any fingerprints, stray sauce droplets, or smudges on the rim. A clean border is the hallmark of a professional kitchen.
***
FAQ: Frequently Asked Questions
**Q: How do I keep the food warm while I’m busy plating?**
A: This is the biggest challenge for home cooks. To succeed, have all your components ready (your *mise en place*). Warm your plates in the oven at 150°F. Work quickly, and if you are doing a complex plating, keep your sauces and purees in a thermos or a bain-marie (hot water bath) to maintain their temperature until the very last second.
**Q: Can I plate family-style meals professionally?**
A: Absolutely. Use large, shallow platters rather than deep bowls. Apply the same principles: build height by stacking roasted vegetables, use a squeeze bottle to drizzle sauce over the entire platter, and finish with a generous scattering of fresh herbs and toasted seeds.
**Q: Do I need expensive plates to make my food look professional?**
A: No. While high-end ceramics are beautiful, you can achieve incredible results with simple, inexpensive white plates. The key is the technique—the “swoosh” of the sauce and the placement of the garnish—rather than the price tag of the dishware.
**Q: What is the best way to practice plating?**
A: Practice on your everyday meals! Even a simple salad or a bowl of oatmeal can be an opportunity to practice your “swoosh,” your “dots,” or your fruit placement. You can also practice “saucing” on a piece of parchment paper to get your hand movements down before moving to a real plate.
**Q: Are there any garnishes I should avoid?**
A: Avoid anything that isn’t edible or doesn’t contribute to the flavor. Large chunks of raw onion, thick woody stems of rosemary, or whole citrus slices (unless they are candied) can be distracting. If the guest has to “remove” something from the plate before eating, it probably shouldn’t be there.
***
Conclusion
Mastering professional plating techniques for the home is a journey that blends culinary skill with artistic expression. As we look ahead through 2026, the emphasis on visual storytelling in the kitchen will only continue to grow. By understanding the balance of color and texture, investing in a few key tools like tweezers and squeeze bottles, and respecting the power of negative space, you can transform any meal into a high-end dining experience. Remember that plating is meant to be a creative outlet, not a source of stress. Start with the basics—focusing on clean lines and vibrant colors—and gradually experiment with more complex architectures and saucing methods. With a little practice and a keen eye for detail, your home kitchen will produce dishes that look as exquisite as they taste, turning every dinner into a professional-grade masterpiece.


