


The Ultimate Guide to Making Homemade Stock: Liquid Gold for Your 2026 Kitchen
There is a quiet, rhythmic magic to a pot of stock simmering on the back of the stove. As we move into 2026, the trend in home cooking has shifted away from overly processed, store-bought shortcuts toward the soulful, foundational elements of the kitchen. Homemade stock—often referred to by chefs as “liquid gold”—is the single most transformative ingredient a home cook can master. Unlike the thin, sodium-heavy cartons found in grocery aisles, a true homemade stock offers a velvety mouthfeel, a complex depth of flavor, and a nutritional profile rich in collagen and minerals. Whether you are preparing a silky risotto, a restorative chicken soup, or a rich demi-glace, the quality of your base defines the success of your dish. In this comprehensive guide, we will explore the science, the ingredients, and the time-honored techniques required to turn humble scraps and bones into a professional-grade culinary cornerstone.
1. The Science of Stock: Understanding Collagen and Body
The primary difference between a mediocre broth and an extraordinary stock lies in its “body.” When you chill a high-quality homemade stock, it should turn into a firm, jelly-like substance. This isn’t magic; it’s the result of converting collagen—a structural protein found in animal connective tissues, skin, and bones—into gelatin through the application of low, steady heat.
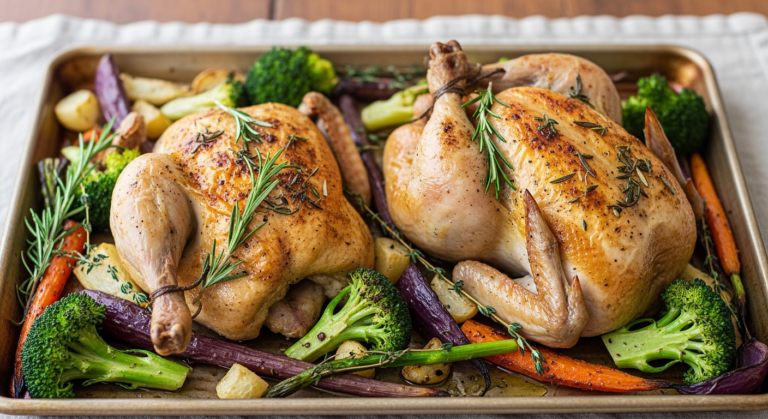
In 2026, health-conscious cooks are revisiting stock not just for flavor, but for these gut-healing properties. To achieve this gelatinous consistency, you must select the right bones. For chicken stock, use wings, backs, and feet, which are exceptionally high in collagen. For beef stock, knuckle bones and marrow bones are essential. The science of stock-making also dictates a “cold water start.” By beginning with cold water, you allow the proteins to dissolve slowly and rise to the surface as “scum” (impurities) which can then be skimmed off. Starting with hot water seals these impurities into the liquid, resulting in a cloudy, muddy-tasting stock.
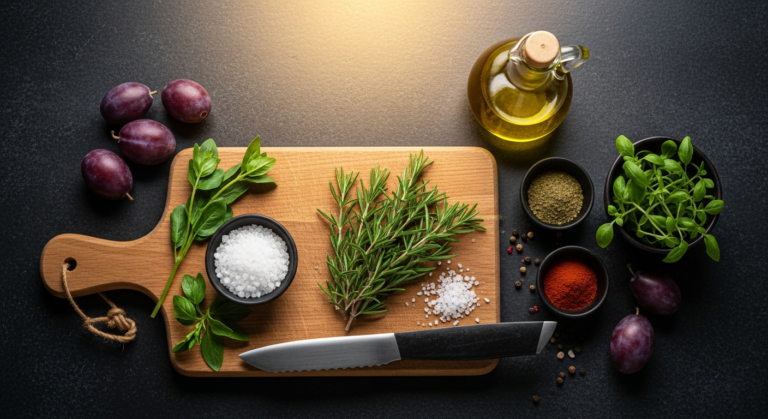
2. Essential Components: The Holy Trinity of Aromatics
While bones provide the structure, aromatics provide the soul. The classic French *mirepoix*—a ratio of two parts onion, one part carrot, and one part celery—is the industry standard for a reason. These vegetables offer a balanced profile of sweetness, earthiness, and sulfurous depth.
However, a modern 2026 approach allows for more flexibility. Here are the pillars of a great aromatic base:
* **The Mirepoix:** Always sweat or roast your vegetables depending on whether you want a “white” or “brown” stock.
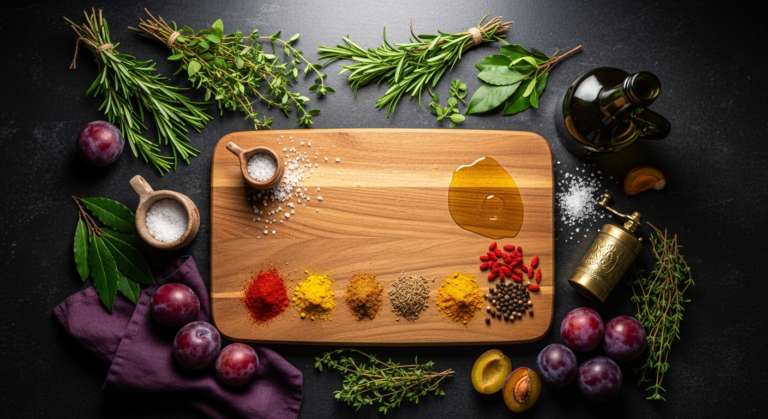
* **The Bouquet Garni:** This is a bundle of herbs, typically thyme, parsley stems, and bay leaves, tied together or encased in leek leaves. Avoid using dried herbs if possible; fresh stems contain the oils needed for a bright finish.
* **The Acid:** A small amount of acid, such as white wine or a splash of apple cider vinegar, helps break down the connective tissue in the bones, ensuring maximum gelatin extraction.
* **Peppercorns:** Use whole black peppercorns. Ground pepper will make the stock gritty and overly spicy.
Crucially, avoid “brassicas” like broccoli, cabbage, or kale. These vegetables release bitter, sulfurous compounds during long simmer times that can ruin the delicate balance of your stock.
3. Mastering the Method: White Stock vs. Brown Stock
There are two fundamental techniques every enthusiast should know: the White Stock (*Fond Blanc*) and the Brown Stock (*Fond Brun*).
#
The White Stock Method
This is the versatile workhorse of the kitchen. To make it, the bones are often blanched (boiled briefly and rinsed) to remove impurities, then simmered with raw vegetables. The result is a light-colored, clean-tasting liquid perfect for cream soups, poaching poultry, or making a classic velouté. It focuses on the pure essence of the protein without the interference of caramelized sugars.
#
The Brown Stock Method
For a deep, mahogany liquid with intense savoriness, you must roast. In this method, bones and vegetables are roasted in a hot oven until deeply browned (but not burnt). You might even coat the bones in a thin layer of tomato paste halfway through roasting to add “umami” and color. After roasting, the pan is deglazed with water or wine to capture the *fond*—the caramelized bits stuck to the bottom—and everything is added to the stockpot. This method is essential for beef stews, French onion soup, and rich gravies.
4. Time and Temperature: The Low and Slow Philosophy
The greatest enemy of a clear, beautiful stock is a rolling boil. If you allow your stock to boil vigorously, the fat and impurities will emulsify into the liquid, creating a cloudy, greasy mess. The goal is a “lazy bubble”—a gentle simmer where only one or two bubbles break the surface every few seconds.
For chicken and vegetable stocks, 3 to 6 hours is usually sufficient. For beef or veal stocks, you may need 12 to 24 hours to fully break down the dense collagen in the larger bones. In 2026, many home cooks are opting for a “perpetual stock” style or long overnight simmers. If you are using a stovetop, never leave it unattended; however, if you have a heavy-bottomed Dutch oven, you can often finish the process in a low-temperature oven (around 200°F/95°C) to maintain a perfectly steady, non-boiling heat.
5. Modern Tools for Traditional Flavor: Slow Cookers and Instant Pots
While the traditional stockpot is iconic, modern technology has refined the process. For the busy home cook in 2026, the Pressure Cooker (Instant Pot) and the Slow Cooker are game-changers.
* **Pressure Cookers:** These are incredible for extracting flavor in a fraction of the time. A beef stock that takes 12 hours on the stove can be completed in about 2 hours under high pressure. The pressurized environment prevents boiling (which keeps the stock clear) while forcing water into the bones. The only downside is that you cannot skim the impurities as they rise, so blanching your bones beforehand is highly recommended.
* **Slow Cookers:** These are ideal for the “set it and forget it” crowd. The low heat setting usually mimics a perfect simmer. It is the safest way to execute a 24-hour beef stock without worrying about an open flame or an active burner.
Regardless of the tool, the final step is always the same: straining. Use a fine-mesh sieve lined with cheesecloth or a coffee filter to ensure a crystal-clear result.
6. Storage, Preservation, and Culinary Application
Once your stock is strained, you must cool it rapidly to prevent bacterial growth. An ice bath is the most effective method. Fill your sink with ice and water, place the pot inside, and stir until the temperature drops below 40°F (4°C).
#
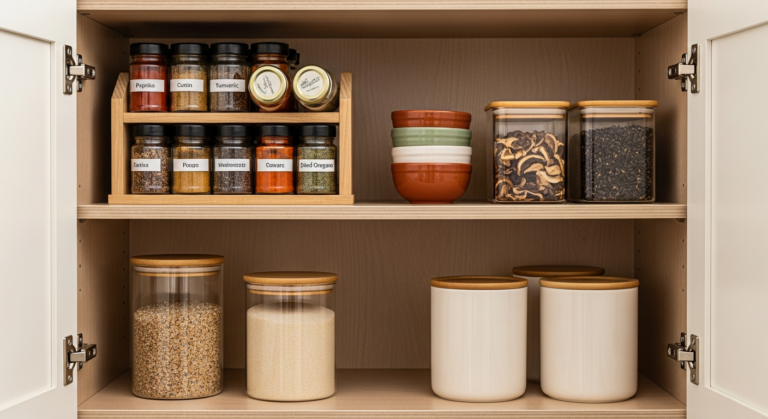
Preservation Techniques for 2026:
* **The Fridge:** Stock will keep for 3-5 days. If you see a layer of fat solidify on the top, leave it! This “fat cap” acts as a natural seal, protecting the liquid underneath from oxygen.
* **The Freezer:** This is the most practical option. Freeze stock in silicone muffin tins or ice cube trays for easy portioning. Once frozen, transfer the “stock cubes” to a freezer bag. They will last for 6 months.
* **Concentration:** You can simmer your strained stock until it reduces by half or more. This “glace” takes up very little space and can be reconstituted with water later or added directly to sauces for an instant flavor bomb.
Frequently Asked Questions (FAQ)
#
1. What is the difference between stock and broth?
While the terms are often used interchangeably, the technical difference lies in the ingredients. **Stock** is made primarily from bones and focuses on body and mouthfeel (gelatin). It is usually unseasoned (no salt) to allow for versatility in recipes. **Broth** is made from meat or vegetables and is usually seasoned and thinner. Stock is an ingredient; broth is often a finished dish.
#
2. Why shouldn’t I add salt to my stock while it simmers?
As stock simmers, it reduces. If you salt the water at the beginning, the salt concentration will increase as the liquid evaporates, potentially leaving you with a product that is far too salty. By keeping it “salt-free,” you have total control over the seasoning of the final dish you use it in.
#
3. My stock turned into jelly in the fridge! Did I do something wrong?
Actually, you did everything right! That jelly-like consistency is the sign of a successful collagen-to-gelatin conversion. It means your stock is packed with protein and will have a luxurious, silky texture once it is reheated.
#
4. Can I reuse the bones for a second batch of stock?
Yes! This is a classic French technique called *remouillage* (literally “rewetting”). The second batch will be weaker than the first, but it is excellent for using as the liquid base for your next batch of fresh stock instead of plain water.
#
5. How do I fix a cloudy stock?
If your stock turned out cloudy because it boiled, you can clarify it using an “egg white raft.” Whisk egg whites with a bit of cold water and chopped aromatics, add them to the simmering stock, and as the eggs cook, they will trap the tiny particles clouding the liquid. You then simply strain the stock through the “raft.”
Conclusion: The Foundation of Great Cooking
Learning how to make homemade stock is a rite of passage for any serious home cook. It is an exercise in patience, a lesson in sustainability—utilizing every carrot peel and chicken carcass—and a commitment to quality. As we navigate the culinary landscapes of 2026, the ability to produce a rich, amber-colored stock from scratch remains the ultimate “flex” in the kitchen. It elevates a simple weekday soup into a restaurant-quality experience and fills your home with an aroma that no candle could ever replicate. So, save your scraps, find a heavy pot, and start your journey toward mastering the most essential ingredient in the world. Your future self—and your taste buds—will thank you.


