


Master the Art of Homemade Pasta Dough: A Step-by-Step Guide for the Modern Kitchen
There is a profound, almost meditative satisfaction that comes from transforming two humble ingredients—flour and eggs—into a silky, golden pile of fresh pasta. While store-bought dried pasta is a convenient pantry staple, it cannot replicate the delicate bite, rich flavor, and tender texture of a noodle made by hand just minutes before it hits the boiling water. In 2026, the culinary world continues to shift toward “slow food” and artisanal techniques, with home cooks reclaiming the kitchen as a space for craft rather than just consumption. Learning to make homemade pasta dough is more than just a recipe; it is a fundamental skill that bridges the gap between a simple weeknight dinner and an extraordinary gastronomic experience. Whether you are aiming for a delicate pappardelle or a robust ravioli, the journey begins with mastering the dough. This comprehensive guide will walk you through the science, the technique, and the soul of creating the perfect pasta from scratch.
1. The Science of Flour and Eggs: Choosing Your Ingredients
Before you crack a single egg, you must understand the foundation of your dough. Pasta is a study in protein and hydration. The most common flour used in authentic Italian kitchens is “00” flour. This refers to the grind of the flour—it is incredibly fine, almost like talcum powder. Because it is made from the center of the wheat kernel, it produces a dough that is exceptionally soft and easy to roll out thinly.
However, many enthusiasts prefer a blend. Mixing “00” flour with Semolina (a coarser, high-protein flour made from durum wheat) adds a “toothsome” quality—that signature *al dente* snap. If you cannot find specialty flours, high-quality unbleached all-purpose flour is a reliable substitute, though the texture will be slightly less refined.
Then, there are the eggs. In 2026, sustainable and heirloom ingredients are at the forefront of home cooking. For the best pasta, use the freshest pasture-raised eggs you can find. The deep orange yolks of high-quality eggs don’t just provide fat and protein; they give the pasta its iconic golden hue and a richness that water-based doughs lack. A standard ratio is 100 grams of flour for every large egg, but as we will discuss, environmental factors like humidity play a significant role in the final consistency.
2. The Essential Toolkit: Equipment You Need
You don’t need an industrial kitchen to make world-class pasta, but a few specific tools will make the process significantly more enjoyable.
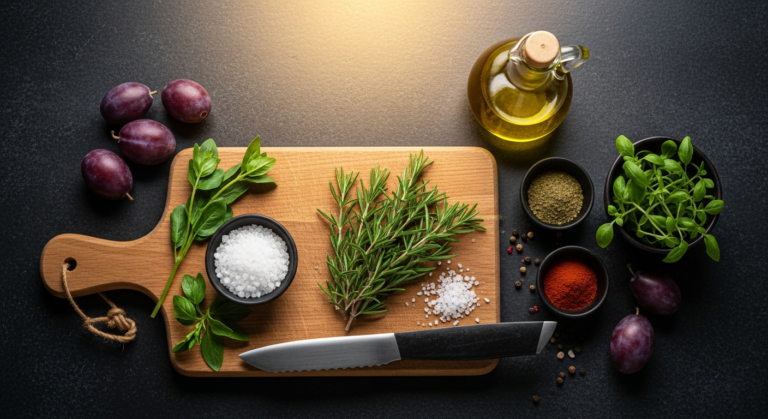
* **The Work Surface:** A large wooden board is the traditional choice. Wood has a slight texture that helps “grip” the dough during kneading, and it absorbs excess moisture better than marble or stainless steel.
* **The Bench Scraper:** This is perhaps the most underrated tool in the pasta maker’s kit. It helps you incorporate the flour into the eggs cleanly and is essential for scraping up stuck bits of dough to keep your surface smooth.
* **A Kitchen Scale:** While “cups” are fine for some baking, pasta is about precision. Measuring flour by weight ensures consistency every time you cook.
* **The Rolling Mechanism:** You have two paths here. The traditional path involves a *mattarello* (a long, heavy Italian rolling pin). The modern path uses a pasta machine, either manual or an attachment for a stand mixer. If you are a beginner, a machine provides a level of uniformity that is difficult to achieve by hand on your first try.
* **The Plastic Wrap or Damp Cloth:** Crucial for the resting phase to prevent the dough from developing a dry “skin.”
3. The Step-by-Step Method: Mixing and Kneading Like a Pro
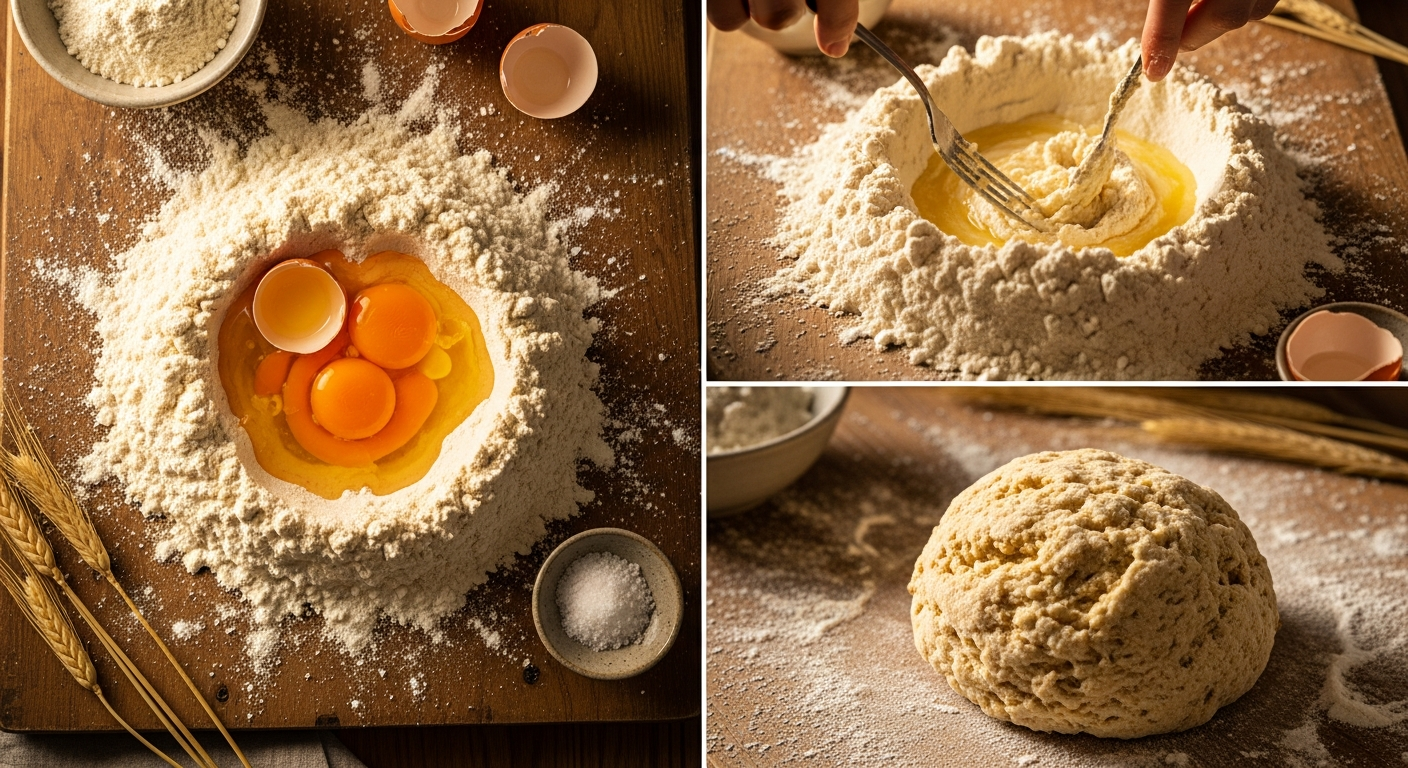
Now, let’s get our hands dirty. The “Well Method” is the time-honored way to start your dough.
**Step 1: The Volcano.** Mound your flour on the center of your work surface. Use your fingers or the bottom of a bowl to create a wide, deep well in the center. It should look like a small volcano. Pour your lightly beaten eggs (and a pinch of salt, if you choose) into the center.
**Step 2: The Whisk.** Using a fork, begin whisking the eggs, slowly incorporating small amounts of flour from the inner walls of the well. Be careful not to break the “wall,” or the eggs will run across your table. Continue until the center becomes a thick, custard-like paste.
**Step 3: The Incorporation.** Use your bench scraper to fold the remaining flour into the egg mixture. It will look like a “shaggy mass”—dry, lumpy, and unappealing. This is normal. Start pressing the bits together with your hands.
**Step 4: The Knead.** This is where the magic happens. Clean your work surface of any dry, crusty bits. Set the dough ball down and begin the kneading process. Push the dough away from you with the heel of your hand, fold it back over itself, turn it 90 degrees, and repeat. Do this for a full 8 to 10 minutes. You are looking for a transformation: the dough should go from lumpy and dull to smooth, elastic, and slightly shiny. When you poke it, the dough should slowly spring back.
4. The Importance of the Rest: Why Patience Makes Better Pasta
One of the most common mistakes home cooks make is rushing from kneading to rolling. If you try to roll out freshly kneaded dough, it will constantly “snap back” and resist your efforts. This is because the gluten—the protein network you just spent 10 minutes developing—is tight and agitated.
Once your dough is smooth, wrap it tightly in plastic wrap or cover it with an overturned bowl. Let it rest at room temperature for at least 30 minutes, though 60 minutes is ideal. During this time, the flour fully hydrates, and the gluten relaxes.
Think of this rest as a spa treatment for your dough. When you return to it, the ball will feel much softer and more pliable. It should feel like an earlobe when pressed. This step is non-negotiable for achieving those paper-thin sheets of pasta required for delicate dishes like tortellini or lasagne.
5. Rolling and Shaping: From Sheets to Tagliatelle
Once rested, it’s time to shape. Divide your dough into four manageable pieces, keeping the ones you aren’t working with covered so they don’t dry out.
**Using a Machine:**
Start on the widest setting (usually 0 or 1). Pass the dough through, fold it in thirds like a letter, and pass it through again. This “lamination” helps further the texture. Then, gradually move the settings thinner, one notch at a time. For fettuccine or tagliatelle, you usually want to go to the second-to-last setting. For ravioli, you want it thin enough to see the shadow of your hand through the sheet.
**Rolling by Hand:**
If using a rolling pin, the goal is “transparency.” Start from the center and roll outward, rotating the dough frequently to maintain a circular or oval shape. Dust with a tiny amount of flour if it sticks, but be careful—too much flour will make the pasta tough.
**The Cut:**
Once you have your sheets, you can cut them into ribbons. Flour the sheet lightly, roll it up loosely into a cylinder (like a cigar), and use a sharp knife to cut slices. Unfurl the slices, and you have fresh noodles. Toss them with a little semolina flour and form them into “nests” until you are ready to boil them.
6. Troubleshooting and Expert Tips for the Perfect Texture
Even experienced chefs encounter “bad dough days.” Often, the culprit is the environment.
* **Dry, Crumbly Dough:** This usually happens in winter or in arid climates. If your dough won’t come together after several minutes of kneading, dampen your hands with water and continue kneading. Do not pour water directly onto the flour; a little moisture on your palms is usually enough to tip the balance.
* **Sticky, Tacky Dough:** This happens on humid days. If the dough is sticking to your hands or the board, sprinkle a tablespoon of flour over it and work it in. The dough should be tacky like a Post-it note, but it shouldn’t leave residue on your fingers.
* **The “Windowpane” Test:** If you aren’t sure if you’ve kneaded enough, take a small piece of dough and stretch it between your fingers. If you can stretch it thin enough to see light through it without it tearing, the gluten is perfectly developed.
* **Salt in the Water:** Fresh pasta cooks incredibly fast—usually in 2 to 4 minutes. Because it spends so little time in the pot, the water must be “salty like the sea” to season the dough from the inside out.
FAQ: Frequently Asked Questions
**Q1: Can I make pasta dough in a food processor?**
Yes! While the traditional hand-kneading method is great for developing feel, a food processor is a fantastic shortcut. Pulse the flour and eggs until they look like wet sand, then tip them onto the counter to finish the final two minutes of kneading by hand.
**Q2: How do I store fresh pasta if I’m not eating it immediately?**
You can air-dry your pasta for about 30 minutes and then refrigerate it in an airtight container for up to two days. For longer storage, freeze it. Place the pasta “nests” on a baking sheet to freeze solid, then transfer them to a freezer bag. You can cook them directly from frozen—just add an extra minute to the boil time.
**Q3: Why is my fresh pasta chewy or tough?**
This is usually caused by under-kneading or using flour with too high a protein content (like bread flour) without enough hydration. Ensure you knead until the dough is perfectly smooth and give it that crucial 30-minute rest.
**Q4: Can I make eggless pasta dough?**
Absolutely. Traditional Southern Italian pasta (*pasta bianca*) is made with just semolina flour and water. This creates a sturdier noodle that is excellent for shapes like orecchiette or cavatelli.
**Q5: Can I add colors or flavors to my dough?**
Yes! In 2026, vibrant, vegetable-dyed pastas are very popular. You can add a tablespoon of tomato paste for red dough, pureed blanched spinach for green, or even squid ink for a dramatic black finish. Just be sure to adjust your flour levels to account for the extra moisture in the purees.
Conclusion
Mastering homemade pasta dough is a journey that rewards the senses and brings a touch of Italian heritage into your own kitchen. While it may seem daunting at first, the process is incredibly forgiving once you understand the basic relationship between flour, eggs, and time. As you move through 2026 and beyond, embrace the slower pace of scratch cooking. There is no store-bought substitute for the pride of placing a bowl of hand-cut fettuccine on the table, knowing you crafted every strand yourself. With a little practice, your hands will learn the rhythm of the knead, your eyes will learn the perfect shade of golden yellow, and your palate will never settle for boxed pasta again. Put on an apron, clear your counter, and start your first batch today—your kitchen will never be the same.


